
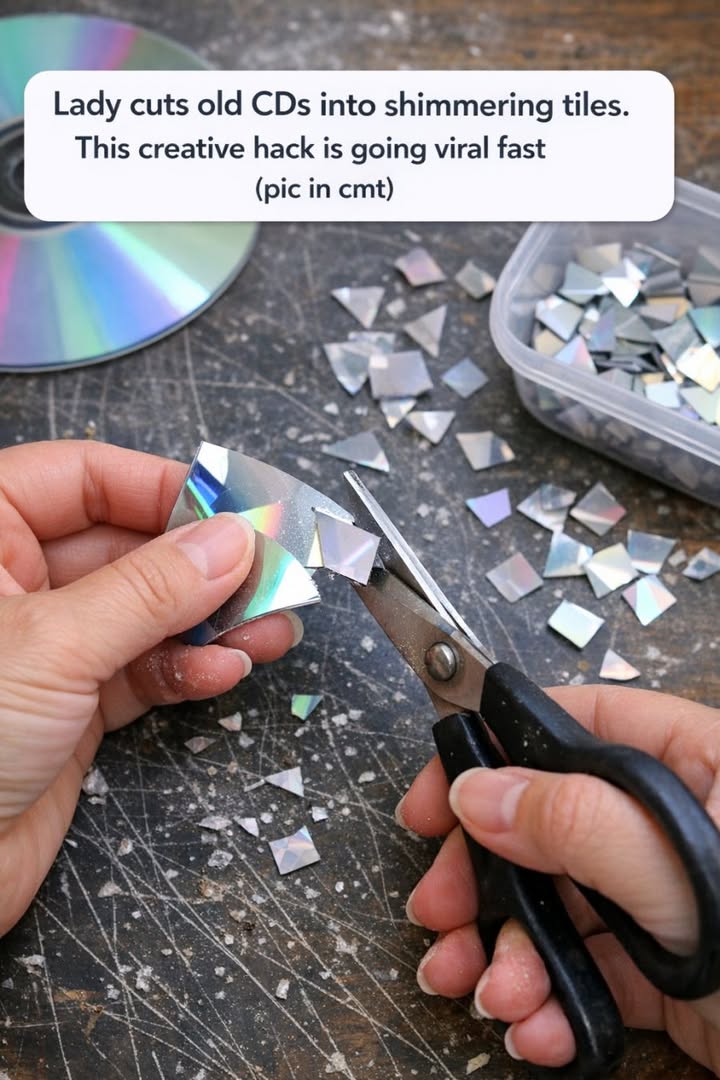
In an era where sustainability meets creativity, repurposing old materials into something beautiful and functional is not only environmentally friendly but also deeply satisfying. Crafting a mosaic birdbath from old CDs is a perfect example of this trend. This DIY project allows you to give new life to obsolete CDs by transforming them into shimmering tiles that reflect sunlight and add a touch of sparkle to your garden. It’s an innovative way to personalize your outdoor space while supporting eco-friendly practices.
Place your shimmering mosaic birdbath in a sunny spot in your garden where it can catch the light, creating a dazzling display of colors. Pair it with natural elements like stones or lush greenery to create a harmonious balance. You can also integrate it into a themed garden area, such as a zen garden or a colorful flower bed, to enhance its visual appeal. The reflective properties of the CD tiles will add a modern and whimsical touch to any outdoor setting.
Mosaic Birdbath with CD Tiles
Materials
Old CDs (around 10-20, depending on the size of the birdbath)
Acrylic sealer spray
Scissors or utility knife
Protective gloves
Safety goggles
Ceramic or concrete birdbath base
Tile adhesive
Grout
Sponge
Bucket
Old cloth or rag
Clear outdoor sealant
Directions
Begin by collecting old CDs and decide on the color pattern or design you wish to create.
Wearing protective gloves and safety goggles, carefully cut the CDs into small mosaic pieces using scissors or a utility knife.
Spray an acrylic sealer on the shiny side of the CD pieces to protect them from moisture and wear.
Clean the ceramic or concrete birdbath base thoroughly to ensure the adhesive will bond properly.
Apply tile adhesive to a small section of the birdbath and press the CD pieces into the adhesive, shiny side up, following your desired pattern.
Continue applying adhesive and CD pieces, working in small sections, until the entire surface is covered.
Allow the adhesive to cure according to the manufacturer’s instructions.
Once the tiles are set, prepare the grout according to package instructions and apply it over the tiles with a sponge, filling in the gaps.
Pages: 1 2
