
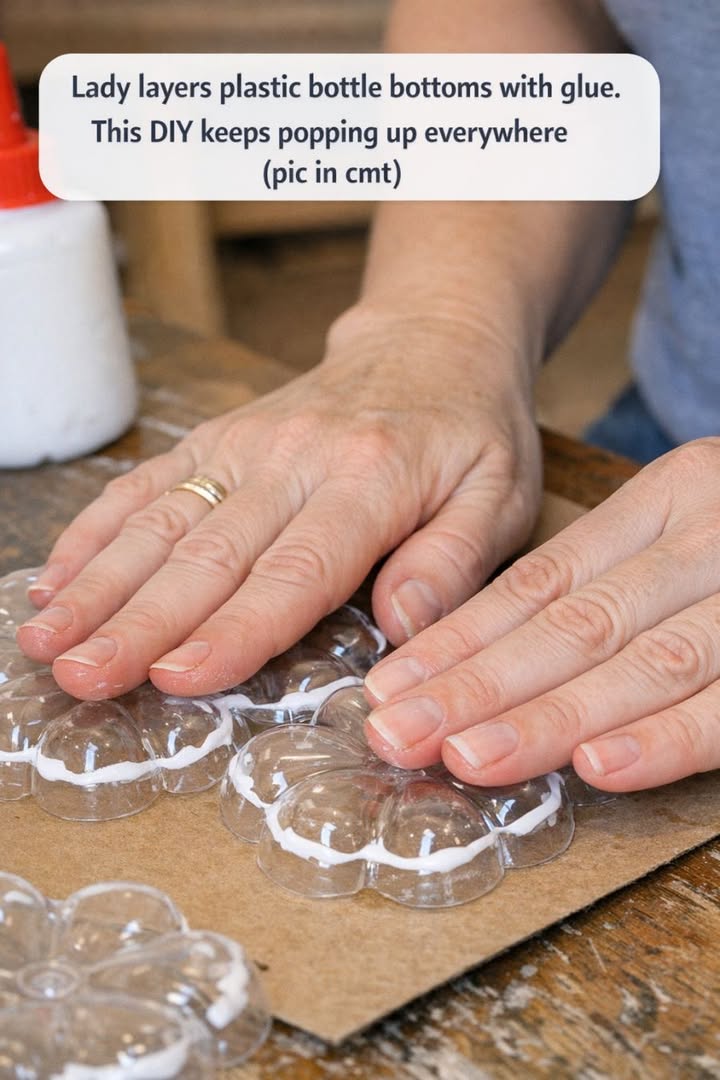
Creating a unique and eye-catching accent wall can transform any room, adding character and a personal touch. This DIY accent wall panel, made from layering plastic bottle bottoms with glue, is an innovative and sustainable way to repurpose waste materials into a striking piece of art. The technique is not only environmentally friendly, but it also allows you to showcase your creativity, making it a perfect project for those who want to add a bold statement to their home decor.
This DIY accent wall panel can be styled in various ways to fit different interior design themes. For a modern look, consider painting the bottle bottoms in monochromatic colors, such as black, white, or metallics. To achieve a more eclectic or bohemian vibe, use a mix of vibrant colors and patterns. Pair your accent wall with minimalistic furniture to let the wall be the focal point, or complement it with bold, contrasting decor elements for a more dynamic look.
Plastic Bottle Bottom Accent Wall Panel
Materials
Plastic bottles (various sizes, enough to cover the desired wall area)
Strong adhesive glue (suitable for plastic)
Spray paint (colors of your choice)
Measuring tape
Level
Scissors
Protective gloves
Sandpaper
Directions
Start by collecting and cleaning plastic bottles. Remove any labels and ensure they are completely dry.
Using scissors, carefully cut off the bottoms of the bottles. Try to make the cuts even, so each piece has a uniform height.
Lightly sand the edges of the bottle bottoms to smooth out any rough parts.
Plan the layout of your design on the wall by arranging the bottle bottoms in your desired pattern. Use a measuring tape and level to ensure even spacing.
Once satisfied with the layout, begin attaching the bottle bottoms to the wall using strong adhesive glue. Hold each piece in place for a few seconds to ensure it adheres properly.
After all pieces are glued, allow the glue to dry completely according to the glue’s instructions.
Once dry, use spray paint to coat the bottle bottoms in your chosen colors. Apply multiple coats if necessary, allowing each coat to dry before applying the next.
Finally, inspect your work for any touch-ups needed and make adjustments as necessary.
Pages: 1 2
