
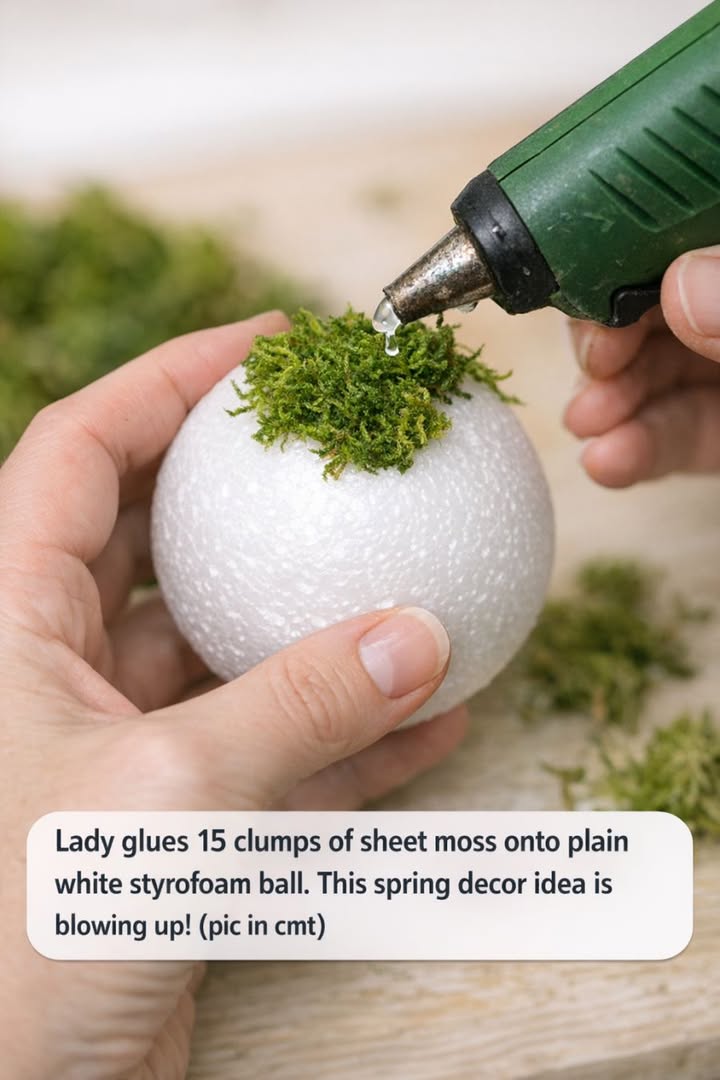
Transforming a plain white styrofoam ball into a charming farmhouse moss ball is an easy and delightful way to bring a touch of spring into your home decor. This project is perfect for anyone looking to add a natural, textured element to their living space without much hassle. With just a few materials and simple steps, you can create a stunning piece that serves as a beautiful centerpiece or a subtle accent in any room.
This DIY farmhouse moss ball pairs beautifully with rustic and vintage-style decor. Place it on a wooden tray or in a wicker basket for a natural look. Surround it with candles, books, or small ceramic figurines to create a cozy vignette. Consider using it as part of a larger spring-themed display on your mantel or as a table centerpiece alongside fresh flowers.
DIY Farmhouse Moss Ball
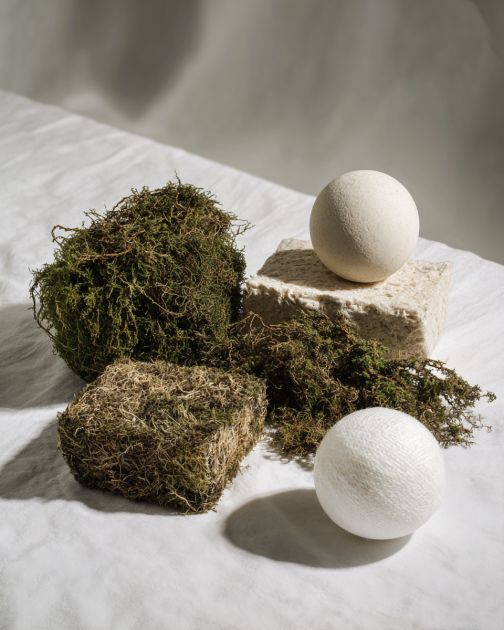
Materials
1 small plain white styrofoam ball
15 clumps of textured green sheet moss
Hot glue gun
Glue sticks
Directions
Start by heating your hot glue gun and preparing your workspace with the styrofoam ball and sheet moss clumps.
Take the first clump of sheet moss and apply a generous amount of hot glue to its base.
Press the glued side of the moss firmly onto the styrofoam ball, holding it in place for a few seconds to ensure a strong bond.
Continue this process, overlapping the moss slightly as you work your way around the ball, ensuring that no white styrofoam shows through.
Rotate the ball as you go, allowing you to cover the entire surface evenly with the moss clumps.
Once all 15 clumps are secured, inspect the ball for any gaps and fill them with additional moss if necessary.
Let the ball sit for a few minutes to allow the glue to fully set.
Pages: 1 2
