
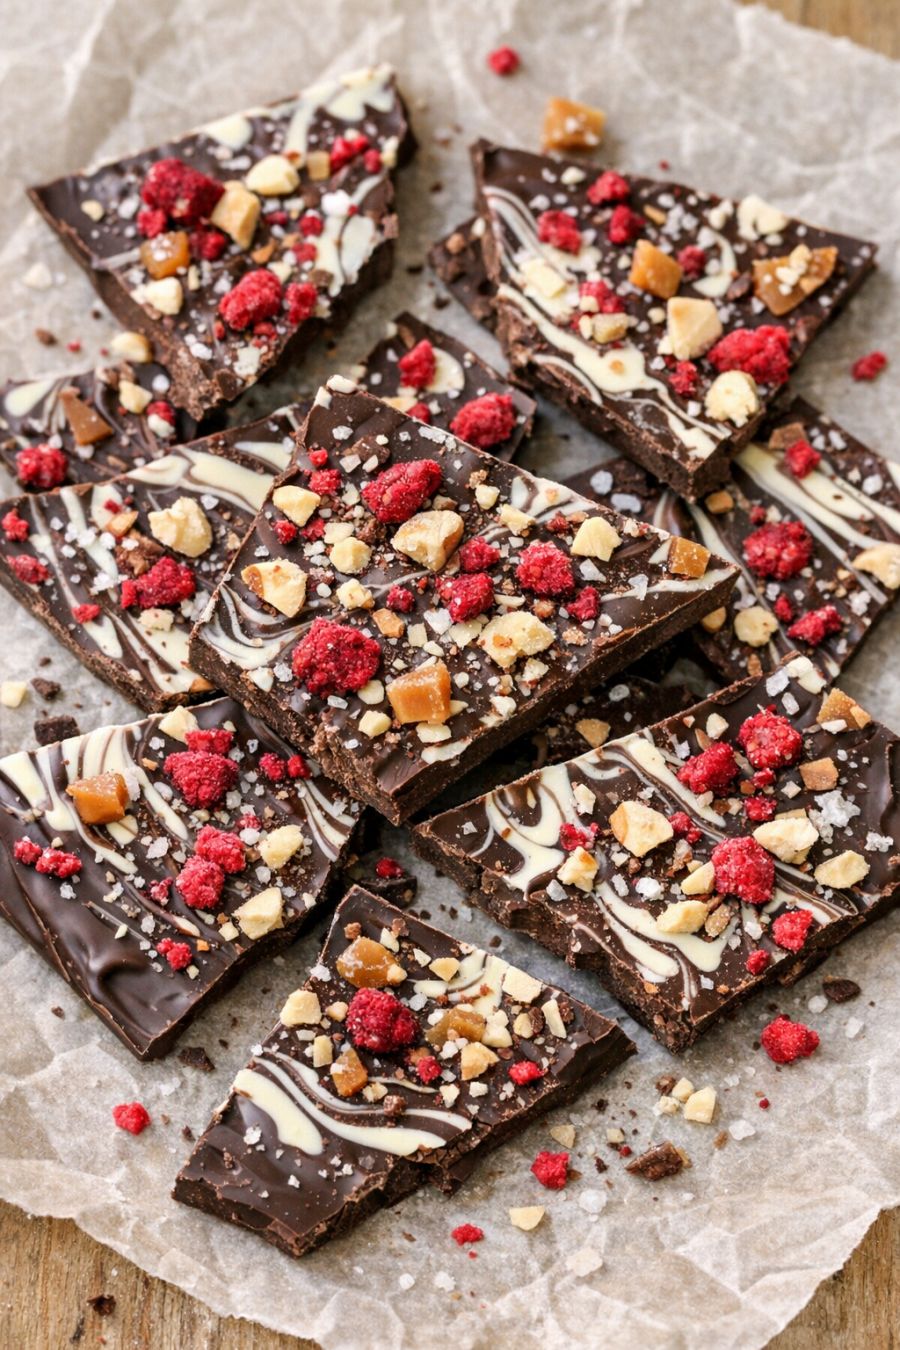
Chocolate bark is one of those wonderfully unfussy confections that looks far more impressive than the effort it requires. At its core, bark is simply melted chocolate spread thin and topped with something crunchy or chewy before it sets. Its roots are loosely tied to European chocolate-making traditions, where chocolatiers would pour excess tempered chocolate onto slabs and scatter nuts or dried fruit over the top. Home cooks adopted the idea because it’s flexible, quick, and endlessly adaptable. This 3-ingredient version is ideal for anyone who wants a homemade treat without committing to a full afternoon in the kitchen—perfect for gifting, entertaining, or just keeping a little stash in the freezer for when the late-night chocolate craving hits.
This chocolate bark works beautifully as part of a simple dessert board: think fresh berries, sliced pears or apples, and a handful of roasted nuts alongside small pieces of the bark. It also pairs nicely with a cup of coffee or black tea after dinner, especially if you’ve had a rich or spicy main course and want something sweet but not fussy. For a more composed dessert, serve shards of bark over a scoop of vanilla or coffee ice cream, letting the cold contrast with the snap of the chocolate. If you’re entertaining, mix the bark with a bowl of lightly salted popcorn and roasted nuts for a sweet-salty snack spread that feels casual but still a little special.
Simple 3-Ingredient Chocolate Bark
Servings: 8 servings
Ingredients
12 ounces (about 2 cups) good-quality dark chocolate, chopped (60–70% cacao)
1/2 cup roasted nuts, roughly chopped (such as almonds, pistachios, or pecans)
1/3 cup dried fruit, chopped if large (such as cranberries, cherries, or apricots)
Directions
Line a baking sheet with parchment paper: Use a rimmed baking sheet and line it completely with parchment. This prevents sticking and makes it easy to lift and break the bark once it’s set.
Melt the chocolate gently: Place the chopped chocolate in a heatproof bowl. Set the bowl over a saucepan with an inch or two of barely simmering water, making sure the bottom of the bowl doesn’t touch the water. Stir frequently until the chocolate is just melted and smooth, then remove from heat. (Alternatively, melt in the microwave in 20–30 second bursts, stirring between each burst to prevent scorching.)
Cool slightly for better texture: Let the melted chocolate sit for 3–5 minutes, stirring occasionally. This brief cooling step helps the chocolate thicken slightly so it doesn’t run all over the pan and encourages a better snap once it sets.
Spread the chocolate: Pour the melted chocolate onto the prepared baking sheet. Use an offset spatula or the back of a spoon to spread it into an even layer about 1/8 to 1/4 inch thick. Aim for a roughly rectangular shape, but don’t worry about perfection—irregular edges are part of the charm.
Add the toppings: Immediately sprinkle the roasted nuts evenly over the warm chocolate, followed by the dried fruit. Gently press the toppings with your fingertips or the back of a spoon so they adhere to the chocolate without sinking.
Set the bark: Let the bark sit at cool room temperature until completely firm, 1–2 hours, depending on your kitchen’s temperature. For faster setting, transfer the pan to the refrigerator for about 30 minutes, but avoid long-term storage in the fridge to prevent condensation later.
Break into pieces: Once fully set, lift the bark out of the pan using the parchment. Break it into irregular pieces with your hands or use a sharp knife to cut it into more uniform squares or shards.
Store properly: Store the chocolate bark in an airtight container at cool room temperature for up to 2 weeks. If your kitchen runs warm, you can refrigerate it, but let it sit at room temperature for a few minutes before serving so the flavors open up.
