
As the New Year unfolds, gardening enthusiasts find themselves eager to dive into the planting season. However, to ensure a smooth and stress-free start, January is the perfect time to prepare your pots and containers. Properly prepping your pots now can save you time, effort, and potential headaches when the prime planting months arrive.
Prepping your pots involves more than just cleaning them out. It’s about taking stock, ensuring they are in good condition, and setting up everything in advance so that when the planting season hits, you’re ready to go. This guide will walk you through essential steps to get your pots ready, ensuring your New Year planting season starts off on the right foot.
1. Take Inventory Of Every Pot Before The Rush Begins
Start by gathering all your pots in one place to assess what you have. Count them and make a list, noting the size and condition of each pot. This is also a good time to measure the diameter and depth of each pot—record these details as they will be crucial when planning what plants will go where.
Pay attention to any pots that may be missing or need replacing. By taking inventory now, you can avoid frantic last-minute trips to the garden center when planting time arrives.
2. Deep-Clean Containers To Evict Pests And Disease
Cleaning your pots is crucial to prevent pests and diseases from carrying over to the new planting season. Start by removing any soil and plant debris from each pot. Use a stiff brush or a scrub pad to remove stubborn dirt and residues.
Once the pots are physically clean, soak them in a solution of one part vinegar to ten parts water. This natural disinfectant will kill off any lingering pathogens. For extra protection, rinse the pots with a mild bleach solution (1 tablespoon of bleach per gallon of water), then rinse thoroughly with clean water and let them dry completely.
3. Use The Viral Bleach-Bucket Hack For Fast Pot Sterilizing
For those looking for a quick and efficient way to sterilize their pots, the bleach-bucket hack is a popular choice. Fill a large bucket or tub with a bleach solution (1 part bleach to 9 parts water). Submerge the pots completely and let them soak for 10 to 15 minutes.
This method is especially useful for smaller pots as it allows you to clean multiple containers at once. After soaking, rinse the pots thoroughly with water to remove any bleach residue, and leave them to air dry.
4. Fix Cracks, Chips, And Wobbly Bases Now—Not At Planting Time
Inspect each pot closely for any signs of damage such as cracks, chips, or unstable bases. Use waterproof epoxy or a strong adhesive to repair small cracks and chips. For larger issues, consider replacing the pot altogether.
Ensure that each pot sits evenly and does not wobble. If a pot is uneven, add a layer of sand or small stones to stabilize it. Addressing these structural issues now will prevent future problems when your pots are filled with soil and plants.
5. Upgrade Drainage With Smart Drilling And Gravel-Free Tricks
Check the drainage holes of each pot to ensure they are adequate. If necessary, use a drill to add extra holes to improve drainage, especially if the pot will house plants that require well-drained soil.
Consider using alternatives to gravel for improving drainage, such as placing a layer of coarse sand or a piece of mesh over the drainage holes. This prevents soil from clogging the holes without the added weight of gravel.
6. Pre-Mix Potting Soil Blends For Different Plant Types
Different plants have different soil requirements, so it’s beneficial to mix your potting soils in advance. Use a basic potting mix as your base and adjust it according to the needs of your plants. For example, add perlite or sand for succulents to improve drainage, or mix in peat moss for moisture-loving plants.
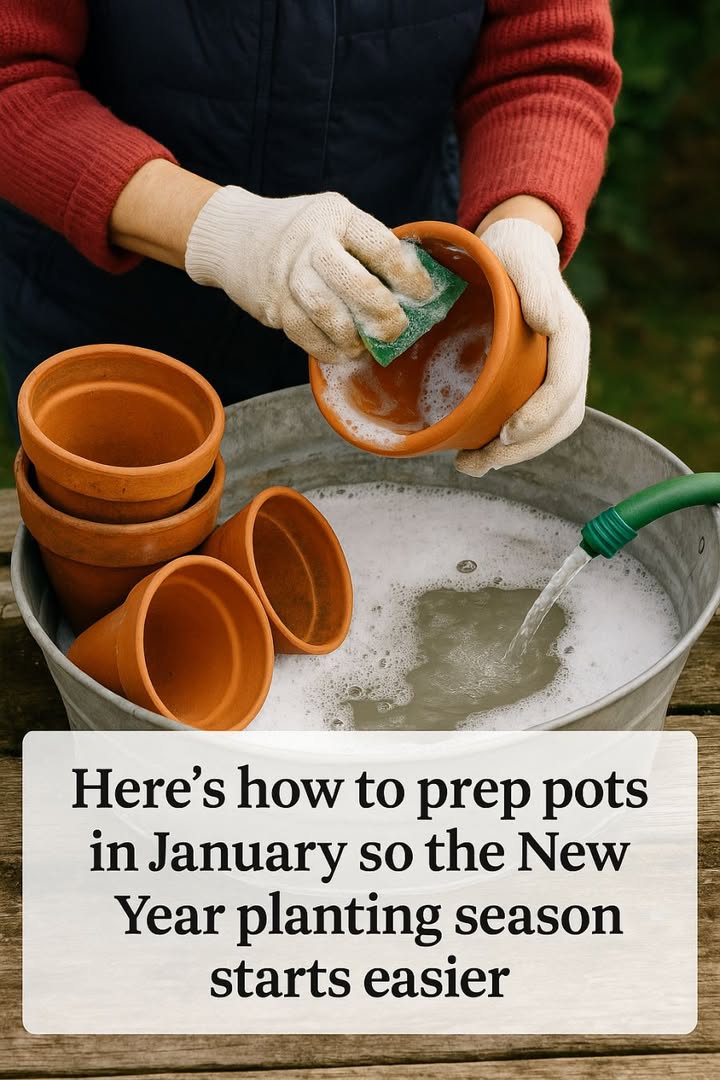
Here’s how to prep pots in January so the New Year planting season starts easier
Pages: 1 2
