
Store these pre-mixed soils in labeled, airtight containers to keep them fresh until planting time. This preparation step will save you time and ensure your plants have the best growing medium from the start.
7. Reuse Old Compost Safely With The Oven-Bake Or Solarization Hack
Instead of discarding old compost, consider reusing it by sterilizing it first. One method is to spread the compost on a baking sheet and bake it in the oven at 180°F (82°C) for 30 minutes to kill any pathogens and weed seeds.
Alternatively, you can use solarization by spreading the compost in a thin layer, covering it with clear plastic, and leaving it in direct sunlight for 4 to 6 weeks. This process uses the sun’s heat to sterilize the compost naturally.
8. Pre-Position Pots And Saucers Where They’ll Live All Season
Decide on the layout for your pots and place them in their designated spots now. Consider the sunlight, wind exposure, and accessibility for watering when positioning your pots.
Setting up your pots and saucers in advance means that once the plants are ready, you can simply move them into their new homes without having to rearrange your garden.
9. Label Pots In Advance To Avoid Springtime Guesswork
Labeling your pots now can prevent confusion later. Use durable labels and a waterproof marker to write the names of the plants you plan to grow in each pot. Attach the labels securely to avoid losing them.
This step is particularly helpful if you’re growing from seeds or planning a complex arrangement. Pre-labeling ensures you know exactly what goes where, streamlining your planting process.
10. Create A Grab-And-Go Potting Station For Speedy Planting
Set up a dedicated potting station in a convenient location. Stock it with essential supplies like potting soil, trowels, gloves, and fertilizers. Use shelves or storage bins to keep everything organized and within easy reach.
Having a potting station ready allows you to plant quickly and efficiently, without having to search for tools and materials. It also helps keep your gardening space tidy and clutter-free.
11. Batch-Prep Self-Watering And Indoor Pots For Houseplants
Prepare your self-watering and indoor pots by ensuring their reservoirs are clean and functioning correctly. Check for clogs in the wicking systems and test that the water levels are consistent.
If you have multiple indoor pots, consider batch-prepping them by filling reservoirs and arranging them in their intended locations. This will make it easier to maintain consistent watering schedules for your houseplants.
12. Store Empty Pots The Right Way To Prevent Damage And Mess
When storing empty pots, stack them by size to save space and prevent them from toppling over. Use a protective layer, like bubble wrap or newspaper, between each pot to avoid scratches and cracks.
Consider storing them in a sheltered area, such as a shed or garage, to protect them from the elements. Proper storage keeps your pots in good condition until you’re ready to use them again.
13. Make A Simple January Potting Calendar So You Actually Use It
Create a potting calendar to keep track of tasks and timelines. Mark key dates for when to start seeds indoors, transplant seedlings, and fertilize your plants.
Use this calendar to plan your gardening activities throughout the year, adjusting as needed based on weather conditions and plant growth. A well-organized calendar helps ensure you stay on track and make the most of the planting season.
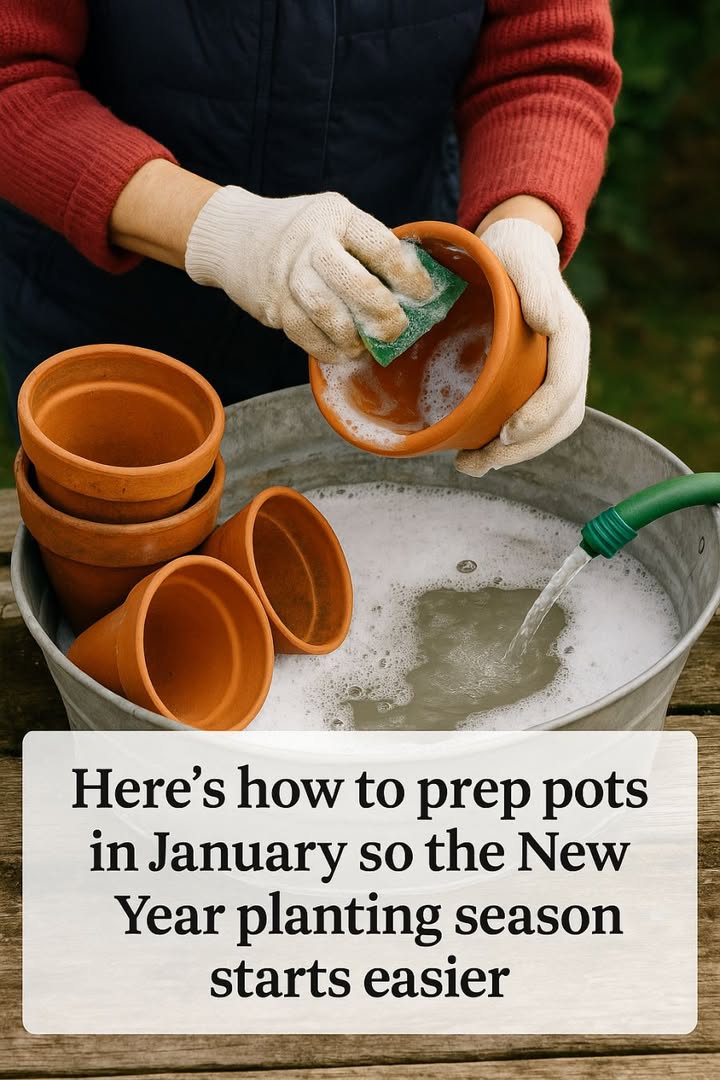
Here’s how to prep pots in January so the New Year planting season starts easier
Pages: 1 2
