
While some gardeners may find success without rooting hormone, using it can be particularly helpful if you are taking cuttings from older plants or during less favorable times of the year. However, avoid using excessive amounts, as this can be counterproductive.
8. Pot, Label, and Space Cuttings to Prevent Hidden Losses
Once the cuttings are prepared, plant them in small pots or trays filled with the prepared rooting medium. Ensure that each cutting is spaced adequately to allow for air circulation and to prevent the spread of disease. Label each pot with the date and variety of hydrangea to keep track of your cuttings.
Spacing is crucial as overcrowded cuttings can lead to poor air circulation, increasing the risk of mold and rot. Proper labeling helps you monitor progress and make informed decisions about care and future plantings.
9. Create the Ideal Humidity and Light “Tent” Hydrangeas Crave
Hydrangea cuttings thrive in a humid environment, which can be created by covering the pots with a clear plastic bag or placing them in a mini greenhouse. This ‘tent’ helps maintain high humidity levels, reducing water loss and promoting root growth. It’s essential to ensure that the plastic does not touch the cuttings, as this can lead to rot.
Place the covered cuttings in a location with bright, indirect light. Direct sunlight can cause overheating and wilting, while too little light can slow down the rooting process. Finding the right balance is key to creating an ideal environment for your cuttings.
10. The Critical Aftercare Window: Watering, Venting, and Checking Roots
During the rooting phase, it’s important to keep the rooting medium consistently moist but not soggy. Overwatering can lead to rot, while underwatering can cause the cuttings to dry out. Check the moisture level regularly and adjust as needed.
Periodically vent the plastic covering to allow fresh air to circulate, reducing the risk of fungal growth. After 4 to 6 weeks, gently check for root development by tugging slightly on the cuttings. If you feel resistance, roots are likely forming, and it’s time to gradually acclimate the cuttings to lower humidity levels.
11. Hardening Off and Planting Out Without Shock or Setbacks
Once the cuttings have developed a robust root system, typically after a few months, they can be gradually acclimated to outdoor conditions. Begin by removing the plastic covering for a few hours each day, gradually increasing the time over a week or two. This process, known as hardening off, helps the young plants adjust to lower humidity and varying temperatures.
When the cuttings are fully acclimated, they can be transplanted into larger pots or directly into the garden. Choose a location with well-draining soil and partial shade to prevent transplant shock. Water the new plants thoroughly after planting and continue to monitor them closely as they establish themselves in their new environment.
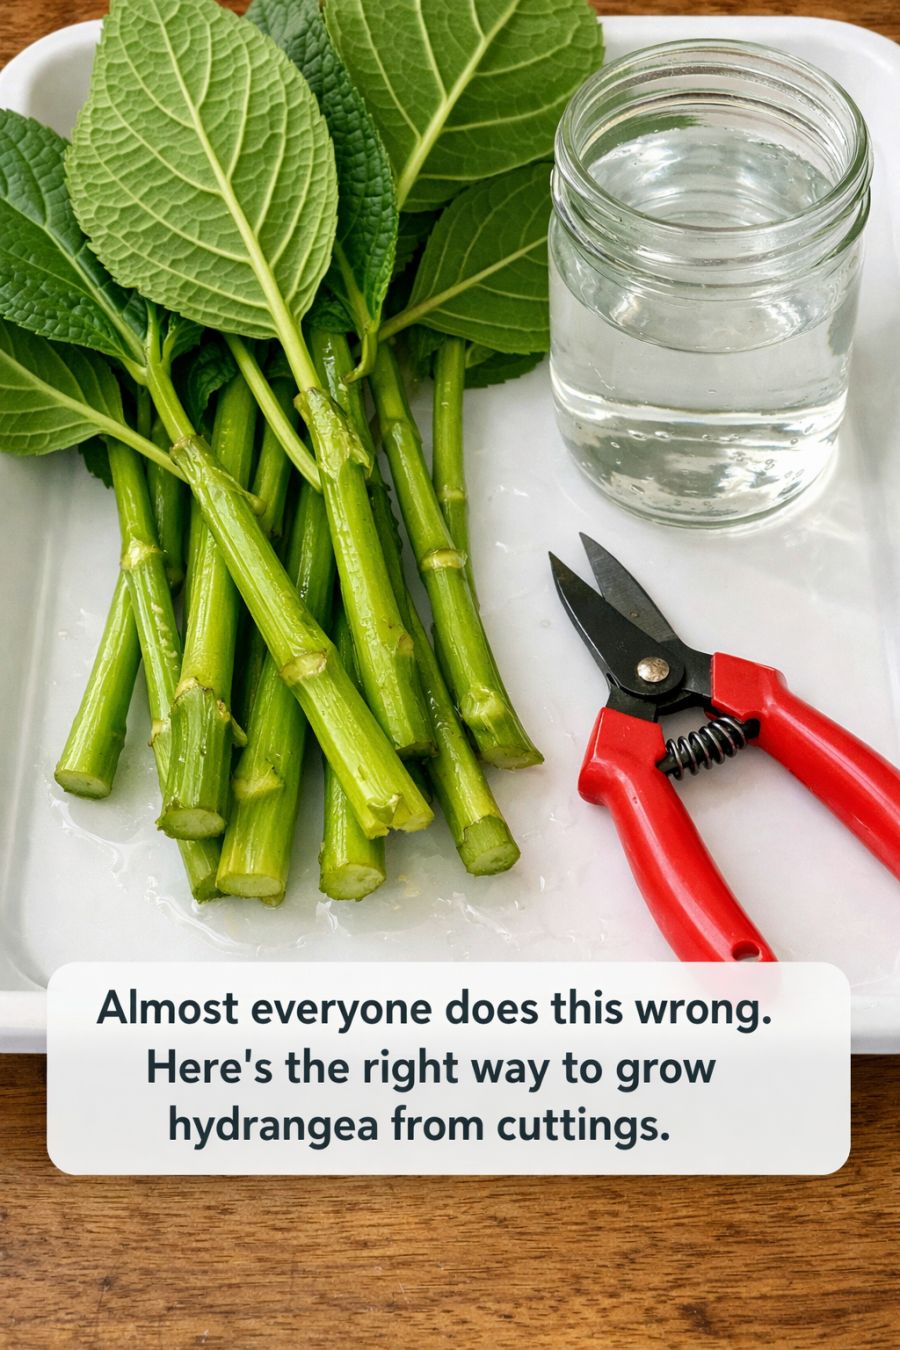
Almost everyone does this wrong. Here’s the right way to grow hydrangea from cuttings.
Pages: 1 2
