
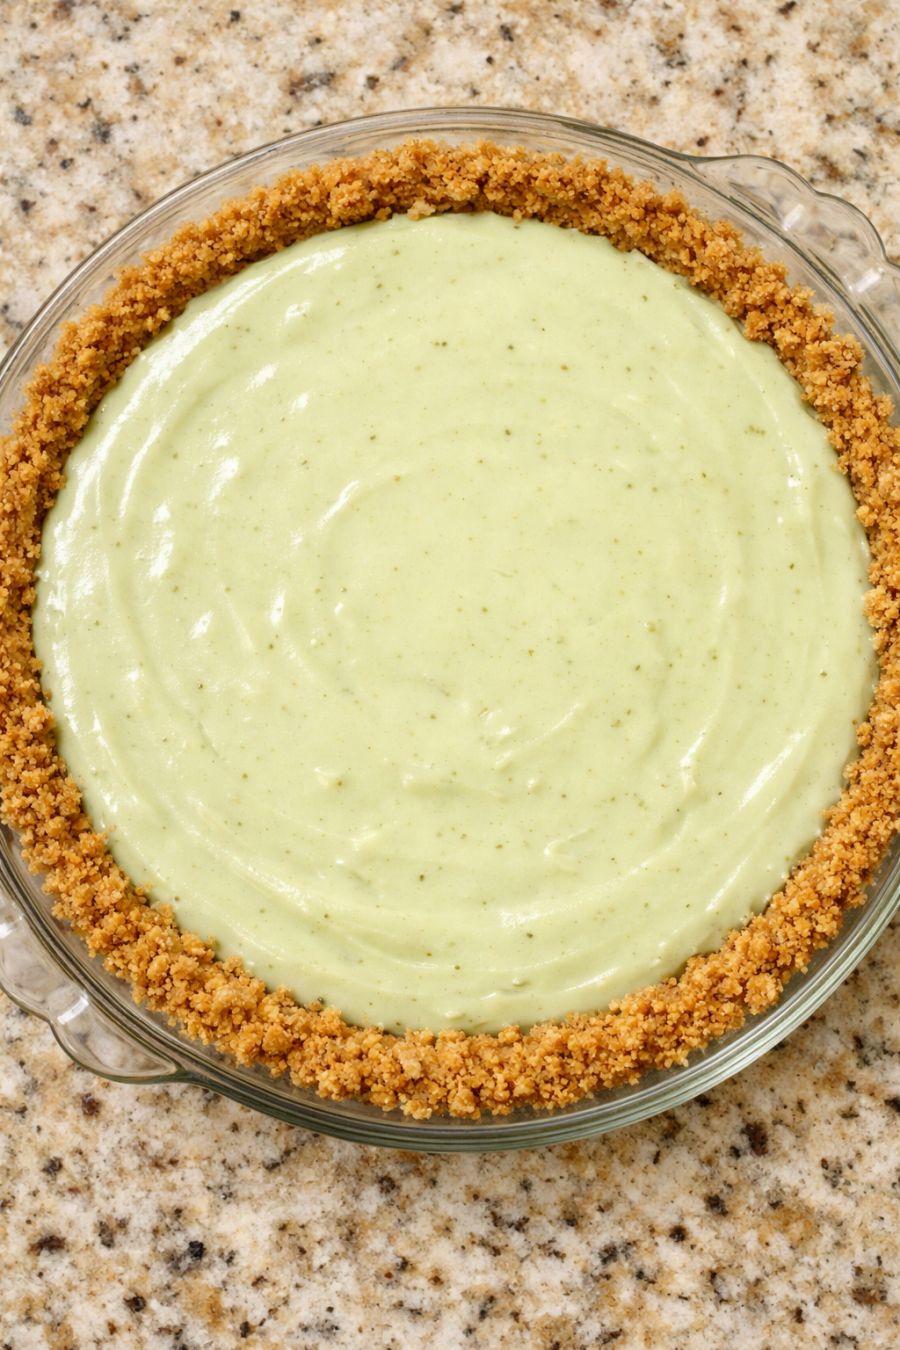
This is a pared‑down, always-ready version of Aunt Linda’s key lime pie—the kind she kept chilling in the fridge for unexpected company. It leans on classic Florida diner proportions: sharp key lime juice balanced by sweetened condensed milk, all nestled in a simple graham cracker crust. The filling is whisked together in minutes, bakes briefly, and then firms up in the refrigerator into a pale green, creamy pie that slices cleanly. If you like recipes that you can make ahead and forget about until the doorbell rings, this is exactly that pie.
Serve this key lime pie well-chilled, straight from the glass pie dish, with small wedges since it’s rich. A light topping of softly whipped cream (unsweetened or barely sweetened) balances the tartness nicely. Fresh lime zest or very thin lime slices make an easy garnish. Pair it with hot coffee, black tea, or iced tea for contrast, or a crisp, dry white wine if you’re serving it after a more formal meal. Because it lives happily in the refrigerator for a couple of days, it’s ideal alongside simple, make-ahead dinners like roast chicken or a big salad when you want dessert ready and waiting.
Aunt Linda’s Key Lime Pie
Servings: 8
Ingredients
1 1/2 cups graham cracker crumbs (about 12 whole crackers)
1/4 cup granulated sugar
1/2 teaspoon fine sea salt
6 tablespoons unsalted butter, melted and slightly cooled
3 large egg yolks, at room temperature
2 cans (14 ounces each) sweetened condensed milk
3/4 cup bottled or fresh key lime juice
1 tablespoon finely grated lime zest (from key limes or regular limes)
1 to 2 drops green food coloring (optional, for a very pale green hue)
1 cup heavy whipping cream (optional, for serving)
2 tablespoons powdered sugar (optional, for sweetening whipped cream)
1/2 teaspoon vanilla extract (optional, for whipped cream)
Directions
Prepare the pan: Set a glass 9-inch pie dish on a speckled countertop or a baking sheet (the sheet makes it easier to move in and out of the oven). Preheat your oven to 350°F (175°C) with a rack in the middle position.
Make the graham cracker crust: In a medium bowl, combine the graham cracker crumbs, granulated sugar, and sea salt. Pour in the melted butter and stir with a fork until the mixture looks like damp sand and holds together when pressed between your fingers.
Form the crust: Transfer the crumb mixture to the glass pie dish. Using your fingers or the bottom of a measuring cup, press the crumbs firmly and evenly across the bottom and up the sides of the dish. Take your time to compact the crumbs; a firmly packed crust will slice more cleanly once chilled.
Bake the crust: Slide the crust into the preheated oven and bake for 8 to 10 minutes, until fragrant and just slightly darker at the edges. Remove from the oven and let it cool on the counter while you prepare the filling. Keep the oven on, but lower the heat to 325°F (165°C).
Mix the filling base: In a medium mixing bowl, whisk the egg yolks until they’re smooth and slightly thickened, 30 to 60 seconds by hand. This helps them blend evenly with the condensed milk and lime juice.
Add condensed milk and flavorings: Whisk the sweetened condensed milk into the yolks until completely combined and silky. Add the lime zest and whisk again. If you’d like a very pale green color, whisk in 1 to 2 drops of green food coloring—just enough to tint the filling lightly.
Incorporate the key lime juice: Slowly pour the key lime juice into the bowl while whisking constantly. The mixture will thicken slightly as the acid hits the proteins in the yolks and milk. Whisk just until smooth and uniform; avoid over-whisking, which can incorporate too much air and create bubbles on top.
Fill the crust: Pour the key lime filling into the slightly cooled graham cracker crust. Gently tap the pie dish on the counter a few times to pop any large air bubbles and level the surface.
Bake the pie: Return the pie (still at 325°F / 165°C) to the oven and bake for 12 to 15 minutes, just until the edges are set and the center still has a slight wobble when you gently jiggle the dish. The surface should look glossy but not browned.
Cool on the counter: Remove the pie from the oven and place it on a cooling rack or directly on the counter. Let it cool at room temperature until it is no longer warm to the touch, about 1 hour. This gradual cooling helps prevent cracking.
Chill thoroughly: Once the pie has cooled, cover the pie dish loosely with plastic wrap or a reusable cover, avoiding direct contact with the surface if possible. Refrigerate for at least 4 hours, or preferably overnight, until the filling is fully set and the pie is very cold. This is when it becomes the “always-ready” dessert in the fridge.
Make whipped cream (optional): Shortly before serving, pour the heavy whipping cream into a chilled bowl. Add powdered sugar and vanilla extract if using. Whip with a hand mixer or whisk by hand until soft peaks form—creamy and just firm enough to hold shape, but not stiff.
