
Step 1: Preheat the Oven
Preheat your oven to 375°F (190°C).
Line a baking sheet with parchment paper or lightly grease it to prevent sticking.
Step 2: Cook the Sausage
Place a skillet over medium heat. Add the ground sausage and cook until fully browned, breaking it apart as it cooks. This usually takes about 6–8 minutes.
Drain any excess grease and allow the sausage to cool slightly.
Step 3: Make the Cream Cheese Filling
In a large mixing bowl, combine:
- Cooked sausage
- Softened cream cheese
- Garlic powder
- Black pepper
- Shredded cheddar cheese (if using)
Mix until smooth and well combined. The warmth of the sausage will help soften the cream cheese, creating a rich, creamy filling.
Step 4: Prepare the Crescent Dough
Open the crescent roll cans and carefully unroll the dough. Separate the dough along the perforated lines to form triangles.
Lay the triangles flat on a clean work surface.
Step 5: Fill and Roll
Place about 1 tablespoon of the sausage mixture on the wide end of each dough triangle.
Starting at the wide end, gently roll each crescent toward the pointed tip. Make sure the tip is tucked underneath to help keep the crescent sealed during baking.
Arrange the filled crescents on the prepared baking sheet, leaving space between each one.
Step 6: Bake Until Golden
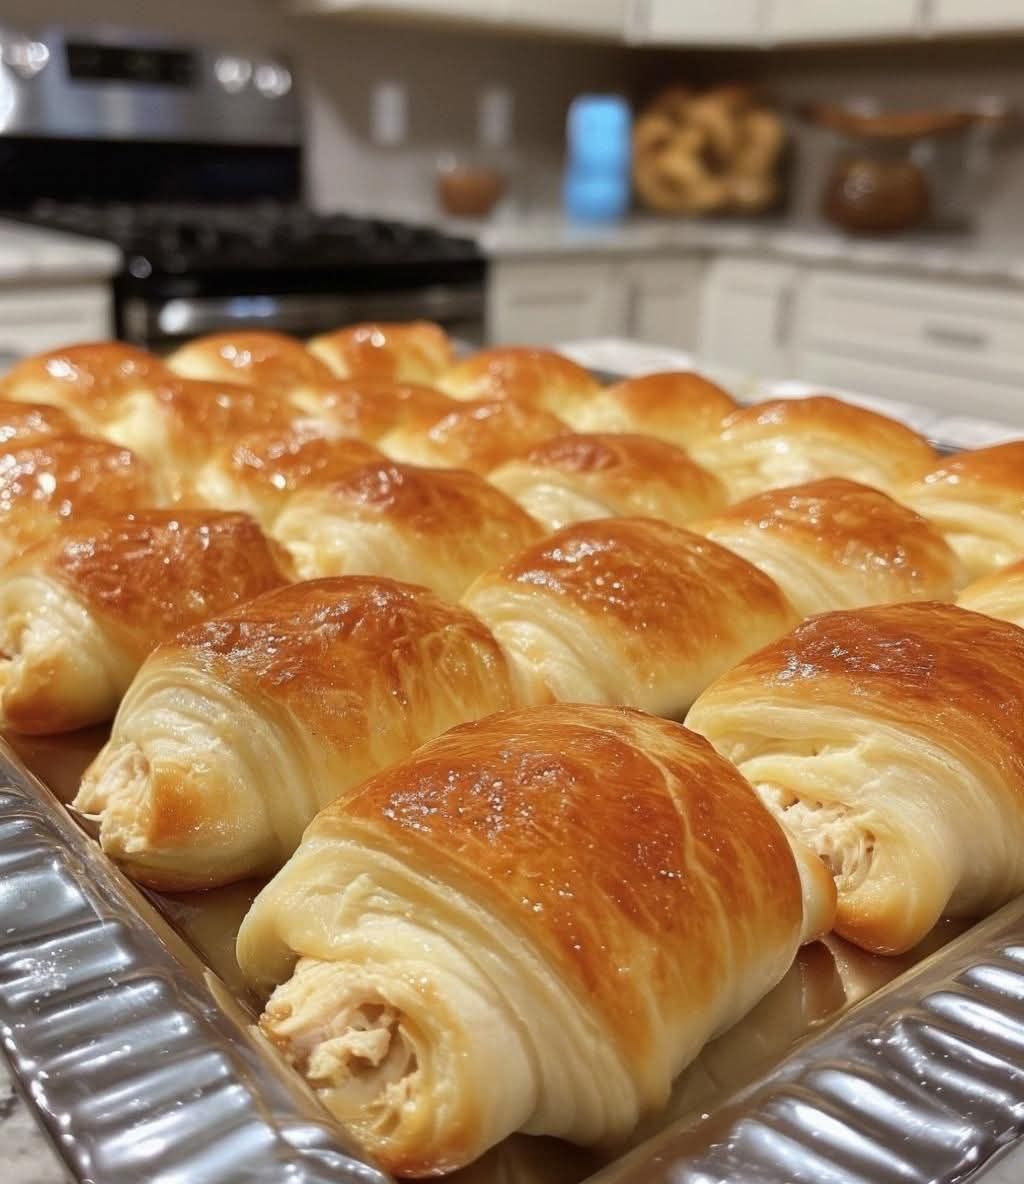
Bake for 12–15 minutes, or until the crescents are golden brown and puffed.
The tops should be lightly crisp and beautifully browned, while the filling remains warm, creamy, and delicious.
Step 7: Cool and Serve
Allow the crescents to cool for about 5 minutes before serving. This helps the filling set slightly and prevents burns from hot cheese.
Serve warm for the best flavor and texture.
Tips for Perfect Sausage Cream Cheese Crescents
- Make sure the cream cheese is softened to avoid lumps.
- Do not overfill the crescents, as the filling can leak during baking.
- Brush the tops lightly with melted butter before baking for extra golden color.
- Sprinkle sesame seeds or everything bagel seasoning on top for added flavor and texture.
Delicious Variations
Spicy Version
Use hot breakfast sausage and add crushed red pepper flakes for an extra kick.
Breakfast Crescents
Mix scrambled eggs into the sausage filling for a heartier breakfast option.
Italian Style
Replace the breakfast sausage with Italian sausage and use mozzarella cheese instead of cheddar.
Low-Carb Option
Skip the crescent rolls and serve the filling inside mini bell peppers or another low-carb dough alternative.
Serving Ideas
These baked crescents are perfect for:
- Holiday brunch spreads
- Christmas morning breakfast
- Baby showers
- Potluck dinners
- Game-day snack tables
- Weekend family breakfasts
Serve them with:
- Honey mustard dip
- Ranch dressing
- Marinara sauce
- Spicy aioli
- Fresh fruit on the side
Storage and Reheating Instructions
Refrigerator
Store leftovers in an airtight container in the refrigerator for up to 4 days.
Freezer
Freeze baked crescents for up to 2 months. Wrap them individually and store them in a freezer-safe bag or container.
Reheating
- Oven: 300°F (150°C) for 8–10 minutes
- Air Fryer: 325°F (165°C) for 3–4 minutes
- Microwave: 20–30 seconds (the pastry may soften)
Frequently Asked Questions
Can I prepare these ahead of time?
Yes. You can assemble the crescents several hours in advance and refrigerate them until you’re ready to bake.
Can I use crescent roll sheets instead of triangles?
Absolutely. Cut the sheet into squares or rectangles, then fill and fold or roll as desired.
Why did my filling leak out?
Overfilling the crescents or failing to seal them properly can cause the filling to leak. Use about 1 tablespoon of filling per crescent and ensure the dough is rolled tightly.
Final Thoughts
These Baked Sausage Cream Cheese Crescents are the ultimate easy appetizer or breakfast treat. With their flaky, buttery exterior and creamy, savory filling, they’re guaranteed to be a favorite at family gatherings, holiday celebrations, and casual get-togethers.
Best of all, they’re quick to prepare, easy to customize, and always disappear fast. Make a batch today and see why this simple recipe has become a go-to favorite for so many home cooks.
This version removes the unrelated “Discover more” interruptions, fixes grammar and punctuation issues, improves flow, and gives the recipe a more professional food-blog style.
