
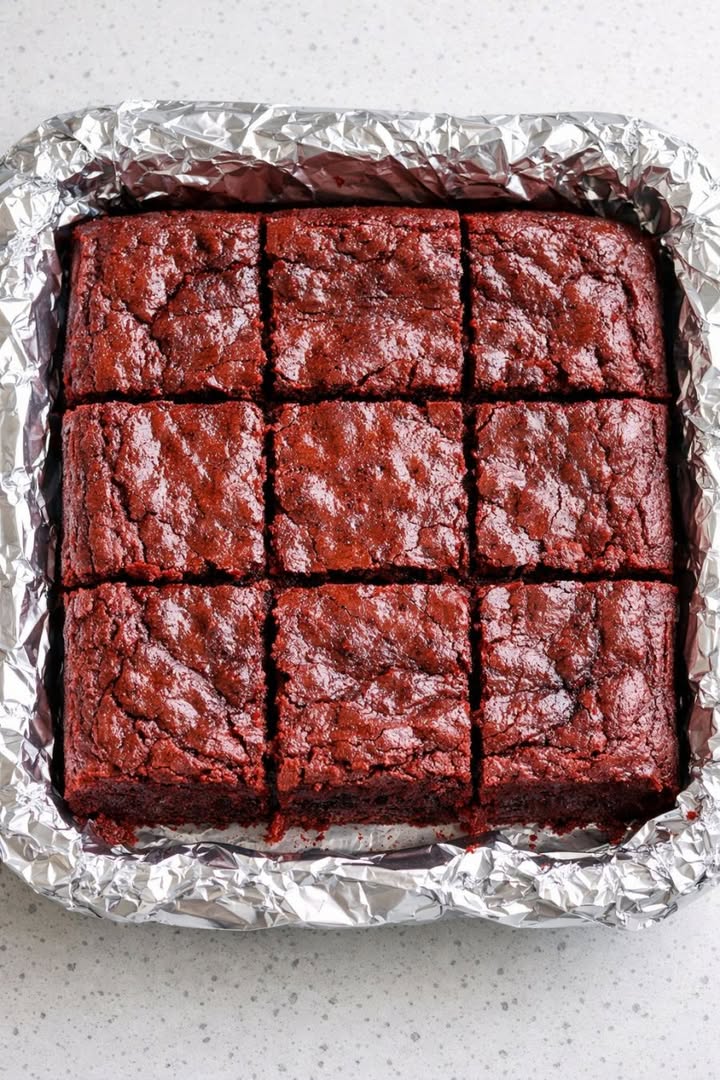
These 3-ingredient red velvet brownies are what my kids call “crimson squares,” and they truly do ask for them every single weekend. This is a shortcut, homey take on classic red velvet cake, which originated in American kitchens around the early 20th century and became iconic through Southern baking and bakery counters across the Midwest. Here, we lean on a boxed red velvet cake mix, enrich it with eggs and melted butter, and bake it until fudgy rather than cakey. The result is dense, chewy brownies with that unmistakable red velvet color and a subtle cocoa flavor—perfect for busy weeknights, bake sales, or when you just want something sweet without a long ingredient list.
Serve these red velvet brownies slightly warm or at room temperature, cut into tidy squares right in the foil-lined pan. They pair nicely with a cold glass of milk for kids, or a cup of coffee or black tea for adults. For a more indulgent dessert, top a warm square with a scoop of vanilla ice cream or a spoonful of lightly sweetened whipped cream. If you’re entertaining, arrange the squares on a white platter so the vivid crimson color pops, and sprinkle a few fresh berries around the edges for contrast.
3-Ingredient Red Velvet Brownies
Servings: 12
Ingredients
1 (15.25-ounce) box red velvet cake mix
2 large eggs, at room temperature
1/2 cup (1 stick, 113 g) unsalted butter, melted and slightly cooled
Directions
Preheat your oven to 350°F (175°C). Line an 8×8-inch baking pan with aluminum foil, letting some foil hang over the sides to create handles. Lightly grease the foil with nonstick spray or a thin film of butter. Set the pan on a sturdy, light-colored baking sheet if you have one; this helps promote even baking and mimics the look of a foil-lined tray on a bright countertop.
In a medium mixing bowl, add the red velvet cake mix. Use a whisk or fork to break up any lumps so the mix is loose and even. This makes it easier to combine with the wet ingredients and prevents dry pockets in the finished brownies.
In a separate small bowl or measuring cup, whisk together the eggs and melted, slightly cooled butter until smooth and glossy. Cooling the butter a bit before adding it keeps the eggs from scrambling and helps the batter come together evenly.
Pour the egg-and-butter mixture into the bowl with the cake mix. Using a sturdy spatula or wooden spoon, stir until everything is fully combined. The batter will be thick—closer to a cookie dough than a pourable cake batter. Scrape the bottom and sides of the bowl as you mix to ensure there are no streaks of dry mix.
Transfer the thick red batter into the prepared, foil-lined pan. Use the spatula to press and spread it evenly into the corners, smoothing the top as best you can. Because the batter is dense, take a moment to level it so the brownies bake uniformly and you get those neat, even crimson squares.
Place the pan on the middle rack of the preheated oven. Bake for 18–24 minutes, depending on your oven. Begin checking around the 18-minute mark: the surface should look set and slightly glossy, and a toothpick inserted about 2 inches from the edge should come out with a few moist crumbs but not wet batter. The center may still look just a touch softer than the edges—that’s what gives a fudgy texture.
Remove the pan from the oven and set it on a wire rack to cool completely in the pan. Cooling allows the brownies to firm up so they slice cleanly and hold their shape. If you try to cut them while they’re hot, they’ll be more likely to crumble or appear underbaked.
Once fully cool, use the foil overhang to lift the entire slab of brownies out of the pan and onto a cutting board. With a sharp knife, trim the edges if you like, then cut into 12 squares (3 rows by 4 rows) or smaller bite-sized pieces. For the close-up, bakery-style look, wipe the knife between cuts so the crimson edges stay crisp and defined. Store leftovers in an airtight container at room temperature for up to 3 days.
