
5. The Proper Way to Prep Your Oven Before Using a Pod
Start by removing any loose debris and crumbs from the oven using a damp cloth or vacuum. This will allow the pod’s active ingredients to focus on the stubborn grease rather than being absorbed by loose particles.
Next, lightly spray or wipe the area with water to create a moist environment. This moisture is crucial as it activates the pod’s enzymes and detergents, ensuring they penetrate the grease effectively. Be cautious not to soak the area; a light misting is sufficient.
6. Step-By-Step: How to Use a Dishwasher Pod to Clean Oven Grease
1. Prepare the oven by following the steps outlined in the previous section. Ensure the surface is damp but not soggy.
2. Wearing gloves, take a dishwasher pod and gently rub it over the problem areas. Apply moderate pressure to avoid scratching the surface.
3. Allow the pod’s contents to sit on the grease for a few minutes, giving the enzymes time to break down the deposits.
4. Use a damp, non-abrasive sponge or cloth to wipe away the residue, rinsing the cloth frequently in warm water to prevent re-depositing grease.
7. The Best Method for Glass Doors vs. Oven Racks and Trays
For glass doors, focus on using gentle, circular motions when applying the pod to avoid scratches. It’s also helpful to use a microfiber cloth for the final wipe-down, as this minimizes streaks and leaves the glass sparkling.
When cleaning oven racks and trays, remove them from the oven and soak them in a sink or tub with warm water. Apply the pod directly to stubborn spots and let it sit for at least 15 minutes before scrubbing with a non-abrasive brush.
8. How Long to Let the Pod Sit So It Can Do the Hard Work
Letting the pod sit for the right amount of time is crucial for breaking down tough grease. Typically, allowing the pod’s solution to work for 10 to 15 minutes is sufficient. For particularly stubborn spots, you may extend this to 30 minutes.
During this time, avoid agitating the area or adding more water, as this can dilute the cleaning agents and reduce their effectiveness. Patience is key to letting the enzymes and detergents do their job.
9. Rinsing, Wiping, and Drying: Finishing the Job Without Streaks
After the cleaning solution has had time to work, rinse the area with clean, warm water to remove any remaining detergent residue. Use a fresh, damp cloth to wipe the surface, making sure to rinse frequently to avoid spreading residue.
For a streak-free finish, dry the surface with a clean, dry microfiber cloth. This step helps prevent water spots and ensures that your oven looks as good as new.
10. Common Problems (And How to Fix Them) When Pods Don’t Seem to Work
If the dishwasher pod doesn’t seem to be effective, it’s often due to insufficient moisture or allowing the cleaning solution to dry out too quickly. To fix this, simply re-moisten the area and reapply the pod, ensuring it remains damp throughout the process.
In some cases, the grease may be too thick for a single application. If this happens, repeat the process, focusing on the most stubborn areas. Alternatively, consider using a degreaser in conjunction with the pod for exceptionally difficult spots.
11. When to Skip the Pod Hack and Use a Different Cleaning Method Instead
While dishwasher pods can be effective, they aren’t suitable for all types of oven cleaning tasks. For example, if your oven has a self-cleaning feature, it’s best to use it as intended rather than using external cleaning agents.
Additionally, if the oven has accumulated years of hardened grease or has burnt-on food that doesn’t respond to the pod method, consider using a commercial oven cleaner or a natural solution like baking soda and vinegar for more intensive cleaning. Always assess the situation and choose the method that poses the least risk to your appliance and personal health.
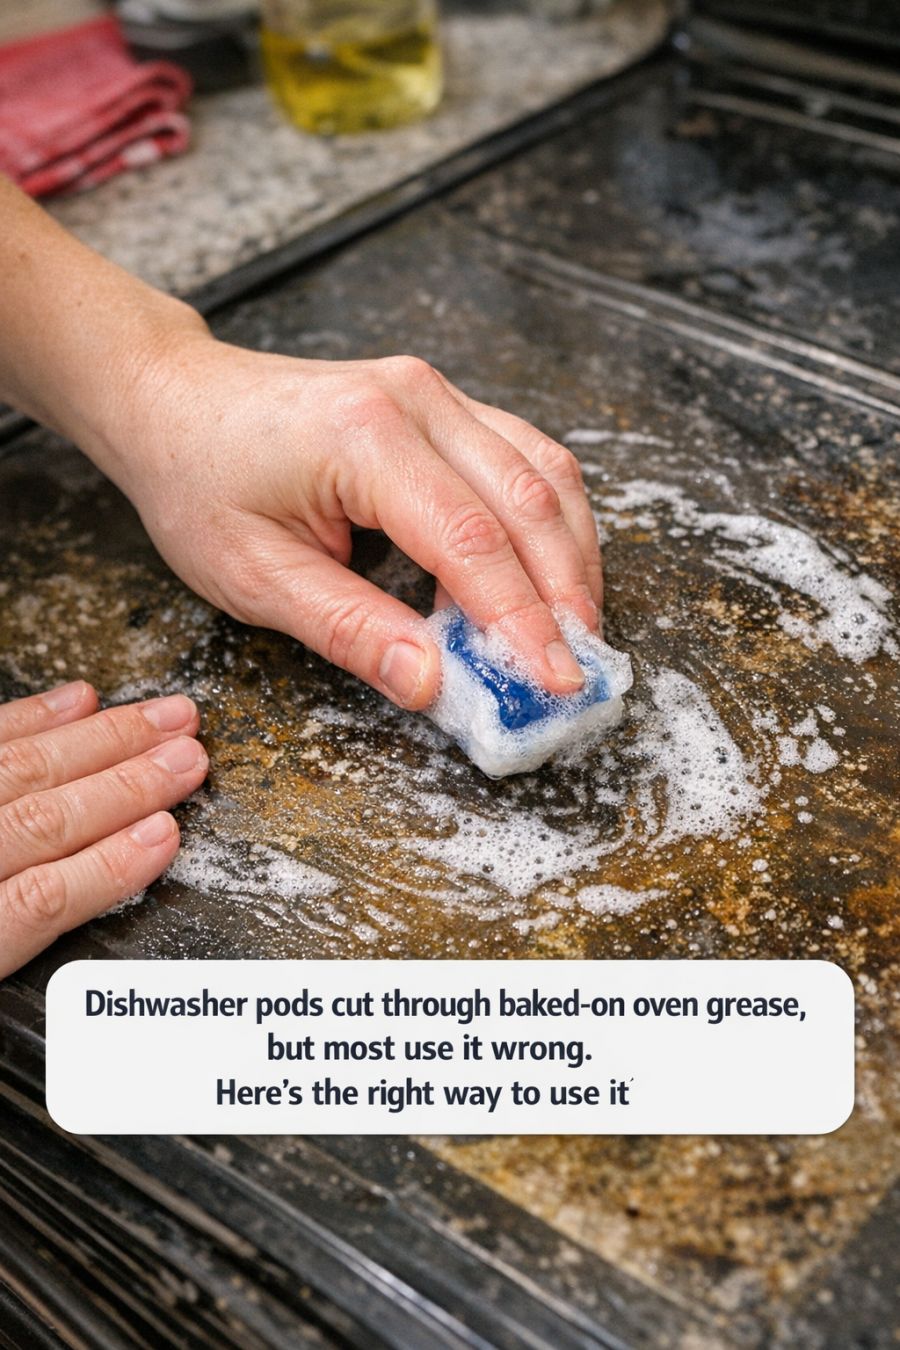
Dishwasher pods cut through baked-on oven grease, but most use it wrong. Here’s the right way to use it
Pages: 1 2
