
Remove the pan from the oven and let the bars cool completely on a wire rack. This helps them set up so they slice cleanly.
Once cool, lift the bars out of the pan using the parchment overhang (if using), and cut into 12 squares or rectangles. Stack them neatly on a favorite plate or serving tray, and enjoy.
Variations & Tips
If you’d like to dress these bars up a bit, you can stir a teaspoon of vanilla extract into the date mixture after it finishes cooking, or add a pinch of cinnamon or nutmeg to the oat mixture for a gentle, cozy spice note. For a heartier texture, swap half of the all-purpose flour for whole wheat flour, which gives the bars a slightly nuttier flavor that feels right at home with the oats and dates. If you enjoy a bit of crunch, you can fold in 1/2 cup of chopped walnuts or pecans with the oat mixture before pressing it into the pan. For those who prefer things a touch less sweet, reduce the brown sugar to 1/3 cup; the natural sweetness of the dates will still carry the dessert. You can also use part orange juice in place of some of the water when cooking the dates to add a subtle citrus brightness. To make cutting easier, chill the baked bars in the refrigerator for 30 minutes before slicing, then let them come back toward room temperature for serving. These bars keep well, covered, at room temperature for several days, and they freeze nicely, too—just stack them between layers of parchment in an airtight container, ready for the next time you need a taste of something homey and familiar.
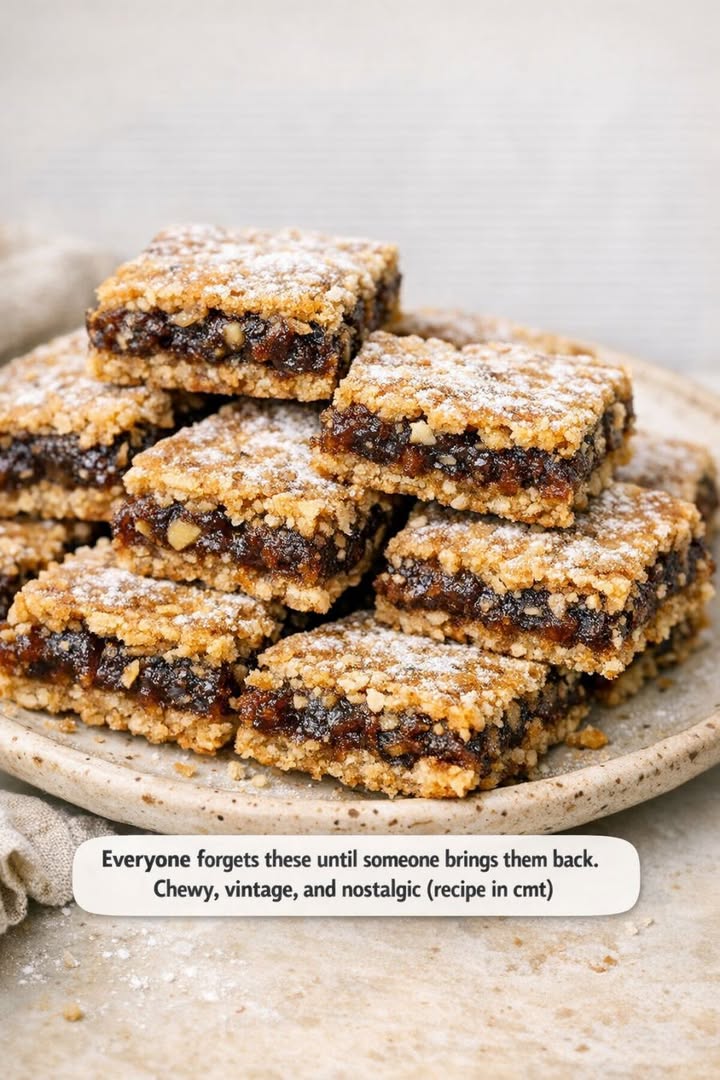
Everyone forgets these until someone brings them back. Chewy, vintage, and nostalgic
Pages: 1 2
