
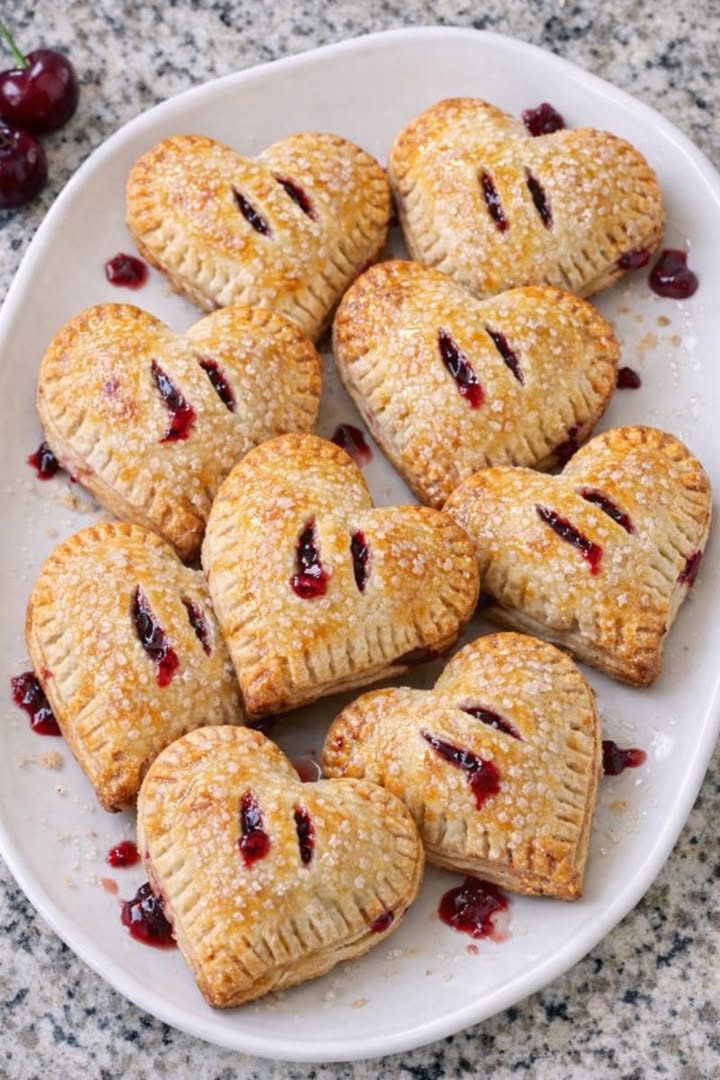
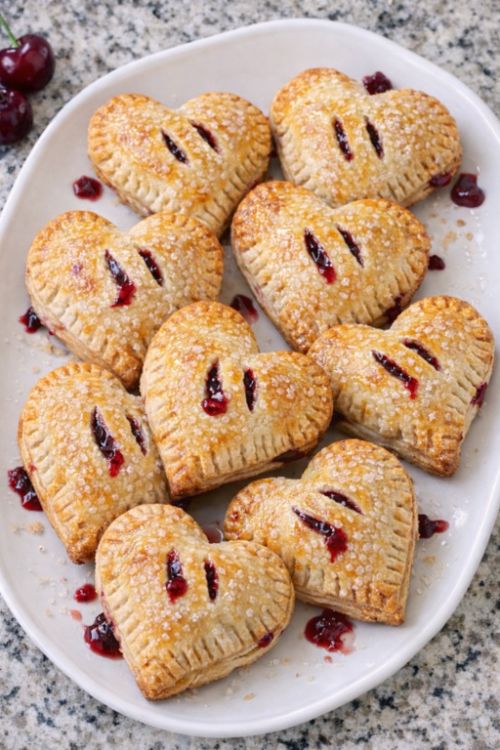
These 3-ingredient cherry hand pies are my go-to ‘heart-shaped treats’ that my kids beg for every single weekend. They’re made with store-bought pie crust, canned cherry pie filling, and a quick egg wash to give them that golden, bakery-style finish. No fancy tools, no complicated steps—just a simple, cozy little project that feels special but fits into a busy Saturday. They bake up into flaky, cherry-filled hearts that look so cute piled on a white platter, perfect for family movie night, after-school snacks, or a sweet surprise at breakfast.
Serve these cherry hand pies slightly warm on a white ceramic platter so the golden hearts really pop against the dish. They’re lovely with a glass of cold milk for the kids and a hot cup of coffee or tea for the grown-ups. If you want to stretch them into a simple dessert, add a scoop of vanilla ice cream or a dollop of whipped cream on the side and let everyone dip or top their own pie. They also pack well for picnics, potlucks, or Sunday school treats—just let them cool completely before stacking on your serving plate.
3-Ingredient Cherry Hand Pies
Servings: 8–10 hand pies
Ingredients
2 refrigerated pie crusts (14–16 oz total, from a 2-crust box)
1 cup cherry pie filling (from a 20–21 oz can, stirred)
1 large egg, beaten (for egg wash)
Directions
Preheat your oven to 400°F (200°C). Line a baking sheet with parchment paper so the pies don’t stick and are easy to transfer to your serving platter later.
Unroll the refrigerated pie crusts onto a lightly floured counter or clean surface. If the edges crack a bit, gently press them back together with your fingers.
Using a heart-shaped cookie cutter (about 3 to 3 1/2 inches wide), cut as many hearts as you can from the pie crusts. Gather the scraps, gently press them together, roll out again, and cut more hearts until the dough is used up. You should end up with an even number of hearts so they can be paired for tops and bottoms.
Lay half of the heart cutouts on the prepared baking sheet. These will be the bottoms of your hand pies. Keep the remaining hearts on the counter or a plate to use as tops.
Stir the cherry pie filling so the fruit and syrup are evenly combined. Place about 1 to 1 1/2 teaspoons of filling in the center of each heart on the baking sheet. Try not to overfill and keep the filling away from the very edges to help the pies seal.
In a small bowl, beat the egg with a fork until well mixed. Using a pastry brush or clean fingertip, lightly brush the exposed edges of each bottom heart with the beaten egg. This will act like glue to help the top crust stick.
Place a second heart cutout over each filled bottom heart, lining up the edges as best you can. Gently press the edges together with your fingers all the way around to seal, then crimp with the tines of a fork for a tighter seal and a pretty border.
Brush the tops of each hand pie lightly with more beaten egg to help them bake up shiny and golden. With the tip of a knife, cut a tiny slit or two in the top of each pie to let steam escape while baking.
Bake the hand pies in the preheated oven for 12–16 minutes, or until the tops are puffed and a deep golden brown and you can see a little cherry juice bubbling at the edges of some pies.
Let the cherry hand pies cool on the baking sheet for about 5 minutes, then carefully move them to a white ceramic serving platter set on your counter. Cool another 5–10 minutes before serving so the filling can set and won’t burn little mouths.
Pages: 1 2
