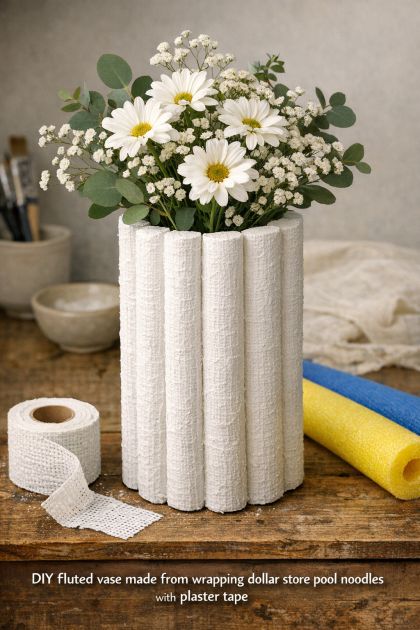
4. Once the structure is stable, begin wrapping plaster tape around the entire vase. Start at the bottom and work your way up, ensuring that each strip overlaps slightly to create a smooth surface.
5. Allow the plaster to dry completely. This may take several hours or overnight.
6. Once dry, optionally sand the surface to smooth out any rough edges.
7. If desired, paint the vase in a color of your choice or leave it in its natural state for a classic look.
8. Apply a clear sealer to protect the finish, especially if the vase will be exposed to moisture.
9. Let the vase dry completely before displaying it in your home.
For a more dramatic effect, consider varying the height of the pool noodles to create a staggered look. You can also experiment with different colors of plaster or paint to match your home’s color palette. Adding metallic accents or a marble effect can elevate the vase’s appearance even further. If you prefer a more rustic style, consider using burlap or jute twine to wrap around the vase, giving it a textured, farmhouse-inspired look. Don’t be afraid to mix and match materials to create a vase that truly reflects your personal style.