Variations & Tips
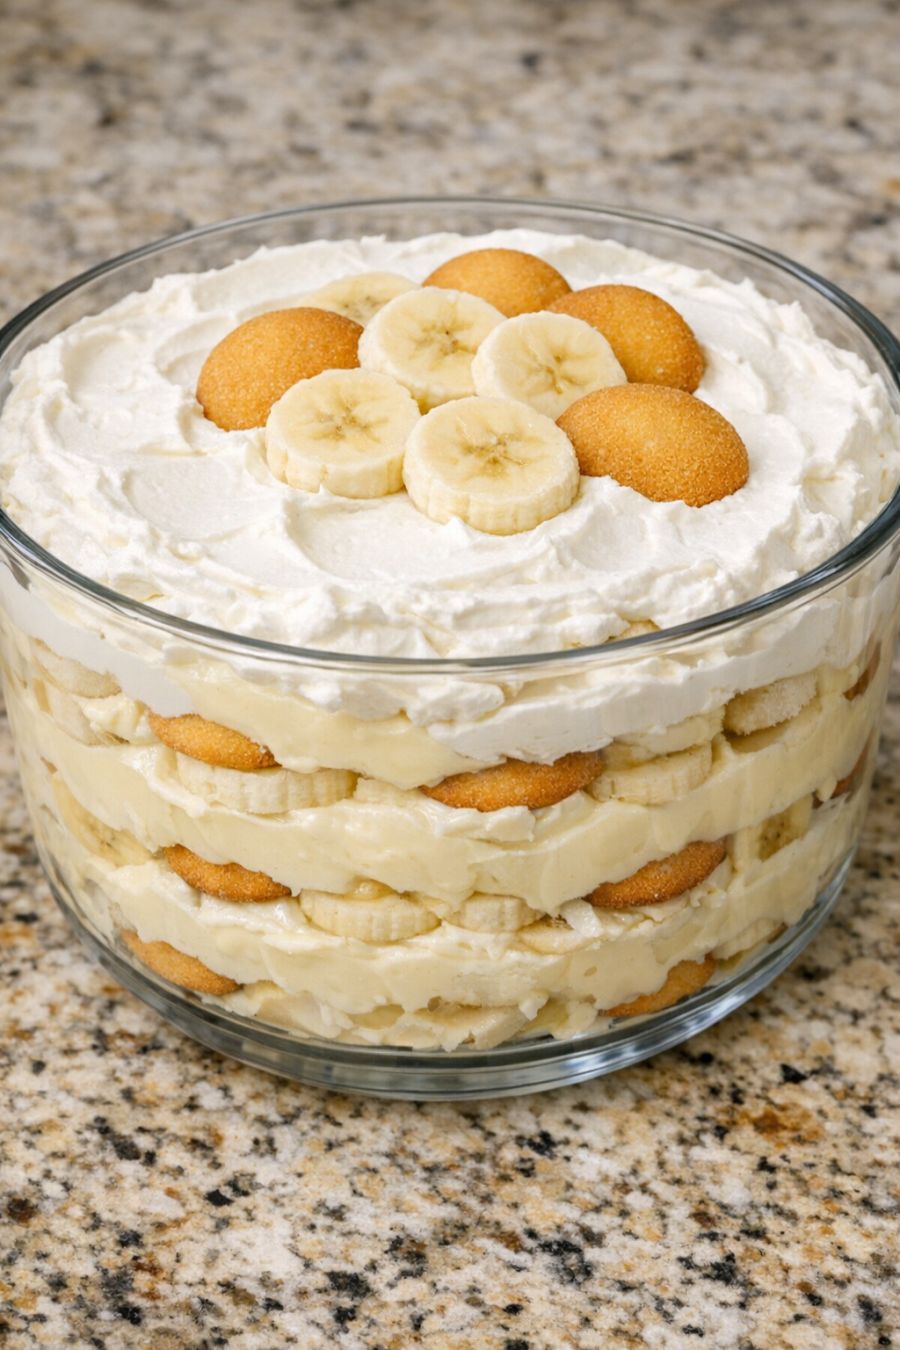
Make-ahead tip: This banana pudding is actually better when made ahead, as long as you give it at least 4 hours to chill. Overnight is ideal if you like very soft, cake-like wafers. If you prefer a bit more bite to the wafers, chill for closer to 4 hours and serve the same day. Meal-prep style, you can also assemble this in individual mason jars or small glass containers for easy grab-and-go desserts.\n\nFlavor variations: For a slightly deeper flavor, use French vanilla pudding instead of regular vanilla. You can also swap in banana cream pudding for extra banana flavor (just know it will be sweeter and more banana-forward). If you like more texture, sprinkle a few crushed vanilla wafers between layers or on top right before serving so some stay crunchy. A tiny splash of vanilla extract or a pinch of salt whisked into the pudding mixture can also help balance the sweetness.\n\nLightened-up option: Use sugar-free instant vanilla pudding and light whipped topping if you’re watching sugar or calories. You can also use reduced-fat milk, but avoid nonfat milk—it can make the pudding thinner and less creamy. If using lighter ingredients, chilling time becomes even more important so the layers set up nicely.\n\nFood safety and storage: Use cold milk and keep the whipped topping chilled until you’re ready to mix it in. Assemble the pudding quickly so it’s not sitting at room temperature for long. Because this dessert contains dairy and fresh fruit, refrigerate it promptly and keep it chilled at 40°F (4°C) or below. Don’t leave the pudding out at room temperature for more than 2 hours (or 1 hour if it’s a very hot day or you’re outdoors). Bananas will naturally brown over time, especially any exposed slices on top, so add decorative banana slices right before serving if appearance matters. Eat leftovers within 2 days for the best taste and texture, and discard if there’s any off smell, separation, or discoloration beyond normal banana browning.