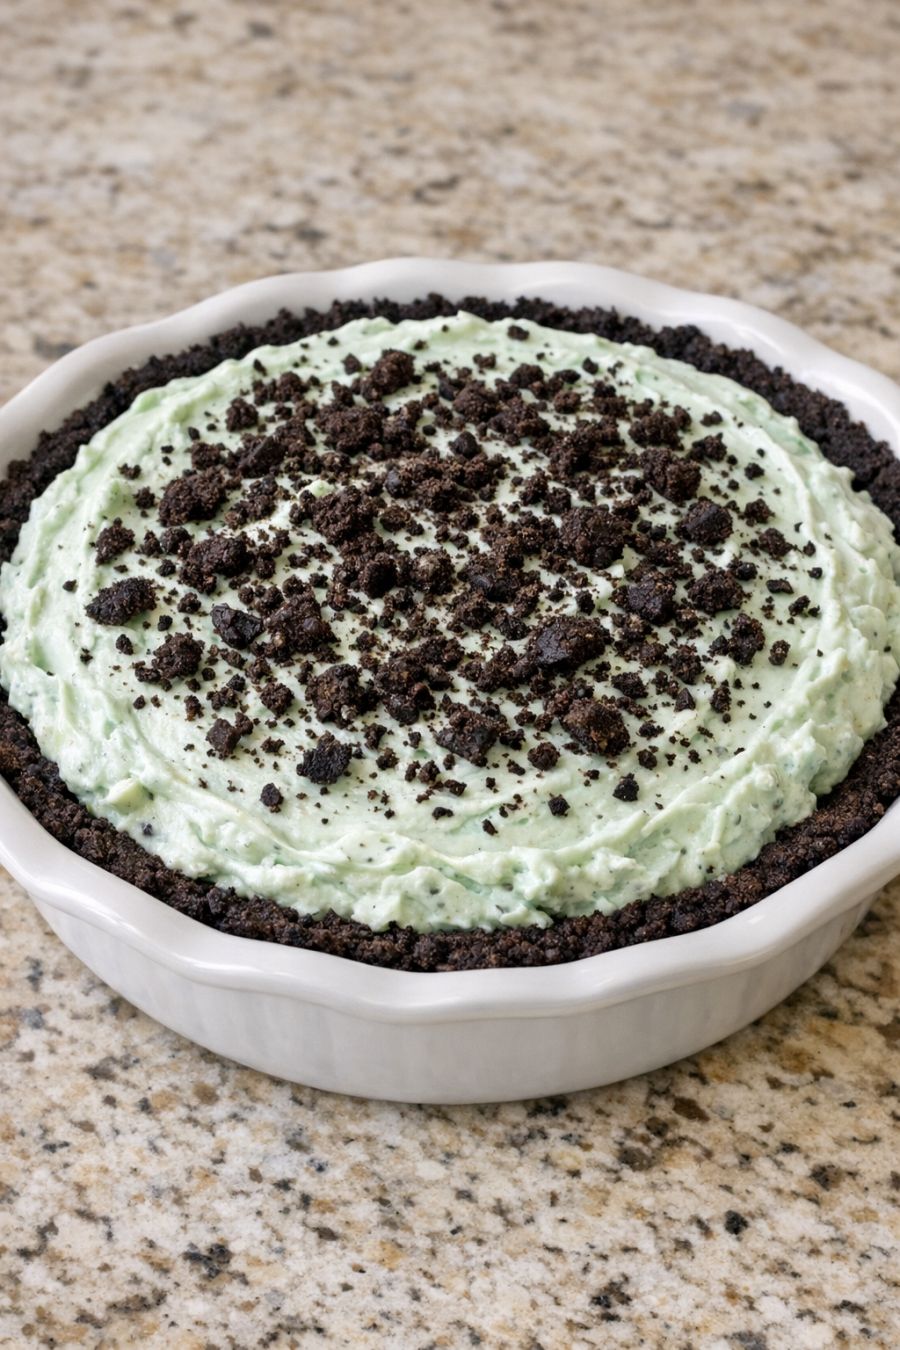
Fill the crust: Spoon the mint whipped cream into the prepared chocolate cookie crust. Smooth the top with an offset spatula or the back of a spoon, creating soft swirls and peaks for a fluffy, homemade look.
Garnish: Sprinkle the reserved chocolate cookie crumbs evenly over the top of the pie, letting a bit of the pale green filling show through for contrast.
Chill and serve: Cover the pie loosely with plastic wrap or an inverted plate and refrigerate for at least 4 hours, or until the filling is fully chilled and sliceable. For the cleanest slices, chill overnight. Cut into wedges and serve straight from the cold, returning any leftovers to the refrigerator promptly.
For a slightly sweeter, more dessert-like filling, fold 1/4 to 1/3 cup powdered sugar into the whipped cream along with the peppermint extract. If you enjoy a stronger chocolate presence, stir a small handful of mini chocolate chips or finely chopped dark chocolate into the whipped cream before spreading it in the crust. To make individual treats, press the crumb mixture into small ramekins or a muffin tin lined with paper cups and top each with a dollop of mint cream, then chill. If you prefer a firmer, almost ice-cream-like texture, place the finished pie in the freezer for 45–60 minutes before serving; just let it sit at room temperature for a few minutes so it’s easier to slice. You can also swap the chocolate sandwich cookies for plain chocolate wafer cookies for a slightly less sweet crust, or use gluten-free chocolate cookies to make the dessert gluten-free.