
Azaleas are beloved for their vibrant blooms and lush foliage, making them a popular choice for gardeners who wish to cultivate beauty in their backyards. While purchasing azaleas from a nursery is one way to introduce them to your garden, growing them from cuttings can be a rewarding and cost-effective alternative. However, many gardeners find themselves frustrated with failed attempts due to mistakes in the propagation process.
Successfully growing azaleas from cuttings requires attention to detail and an understanding of the plant’s specific needs. This guide aims to debunk common misconceptions and provide a step-by-step approach to ensure your azalea cuttings thrive. Whether you’re a novice or an experienced gardener, mastering these techniques will enhance your gardening skills and yield beautiful results.
1. The Common Mistakes People Make With Azalea Cuttings
A frequent error made by gardeners is selecting the wrong type of cutting. Many assume that older, woody stems will be more robust, but azaleas root best from semi-ripe wood. Another mistake is using regular potting soil, which often retains too much moisture, leading to rot.
Additionally, skipping the use of rooting hormone can significantly decrease the success rate, as azaleas require a hormonal boost to develop roots. Neglecting to provide the right environmental conditions, such as humidity and temperature, further hinders successful propagation.
2. Choosing the Right Parent Plant and Timing Your Cuttings
Selecting a healthy parent plant is crucial for successful propagation. Choose a plant that is disease-free and vigorous, as this will increase the chances of your cuttings taking root. The timing of your cuttings is also important; late spring to early summer is ideal when the plant is actively growing and the stems are semi-ripe.
Avoid taking cuttings from plants that have recently been stressed by environmental factors such as drought or cold, as this can affect the quality and vitality of the cuttings.
3. Selecting Semi-Ripe Wood: The Ideal Cutting Material
Semi-ripe wood is the best material for azalea cuttings, characterized by stems that are partially mature but still flexible. These stems are usually taken from the current season’s growth, and they have a balance of lignin and moisture that encourages root development.
To test if a stem is semi-ripe, bend it gently; it should not snap but should have some resistance. Typically, this stage occurs in late spring to early summer, depending on your climate.
4. Making the Perfect Cut: Length, Nodes, and Leaf Trimming
When making your cuttings, aim for lengths of 4-6 inches, ensuring each cutting has at least two to three nodes. Nodes are essential as they are the points from which roots will develop.
Trim the leaves on the lower half of the cutting to reduce transpiration and focus the plant’s energy on root production. Keep a few leaves at the top to maintain photosynthesis, but remove any flower buds, as they can divert energy away from rooting.
5. The Right Rooting Medium (And Why Regular Potting Soil Fails)
Azalea cuttings require a well-draining rooting medium to prevent rot. A mix of equal parts peat moss and perlite or coarse sand is ideal, as it provides the right balance of moisture retention and drainage.
Regular potting soil is often too dense and retains excess moisture, creating an environment conducive to fungal growth and root rot. Ensuring your medium is light and airy will promote healthy root development.
6. Using Rooting Hormone Correctly Instead Of Skipping It
Rooting hormone is a critical component for azalea cuttings, as it stimulates root growth and increases the chances of successful propagation. Use a powdered rooting hormone and dip the cut end of the cutting into the powder, ensuring it is thoroughly coated.
Ensure you shake off any excess powder to prevent clumping, which can hinder root development. Rooting hormone should not be skipped, as azaleas are more challenging to root compared to other plants.
7. Potting Cuttings the Right Way To Prevent Rot
When potting your cuttings, make a hole in the rooting medium with a pencil or dibber to avoid removing the rooting hormone as you plant the cutting. Place the cutting deep enough so that the first node is just below the surface.
Firm the medium around the cutting gently to provide support without compacting it, as this can reduce airflow and increase the risk of rot. Water the cuttings lightly, ensuring the medium is moist but not waterlogged.
8. Creating a Humid Mini-Greenhouse Without Suffocating the Cuttings
Azalea cuttings need high humidity to prevent them from drying out while they establish roots. Create a mini-greenhouse by covering the pot with a clear plastic bag or placing it in a propagator. Ensure the plastic does not touch the leaves by using sticks or wire hoops as supports.
Ventilate the mini-greenhouse daily to prevent mold growth and provide fresh air. Keep the cuttings in a bright, indirect light location to maintain humidity without overheating them.
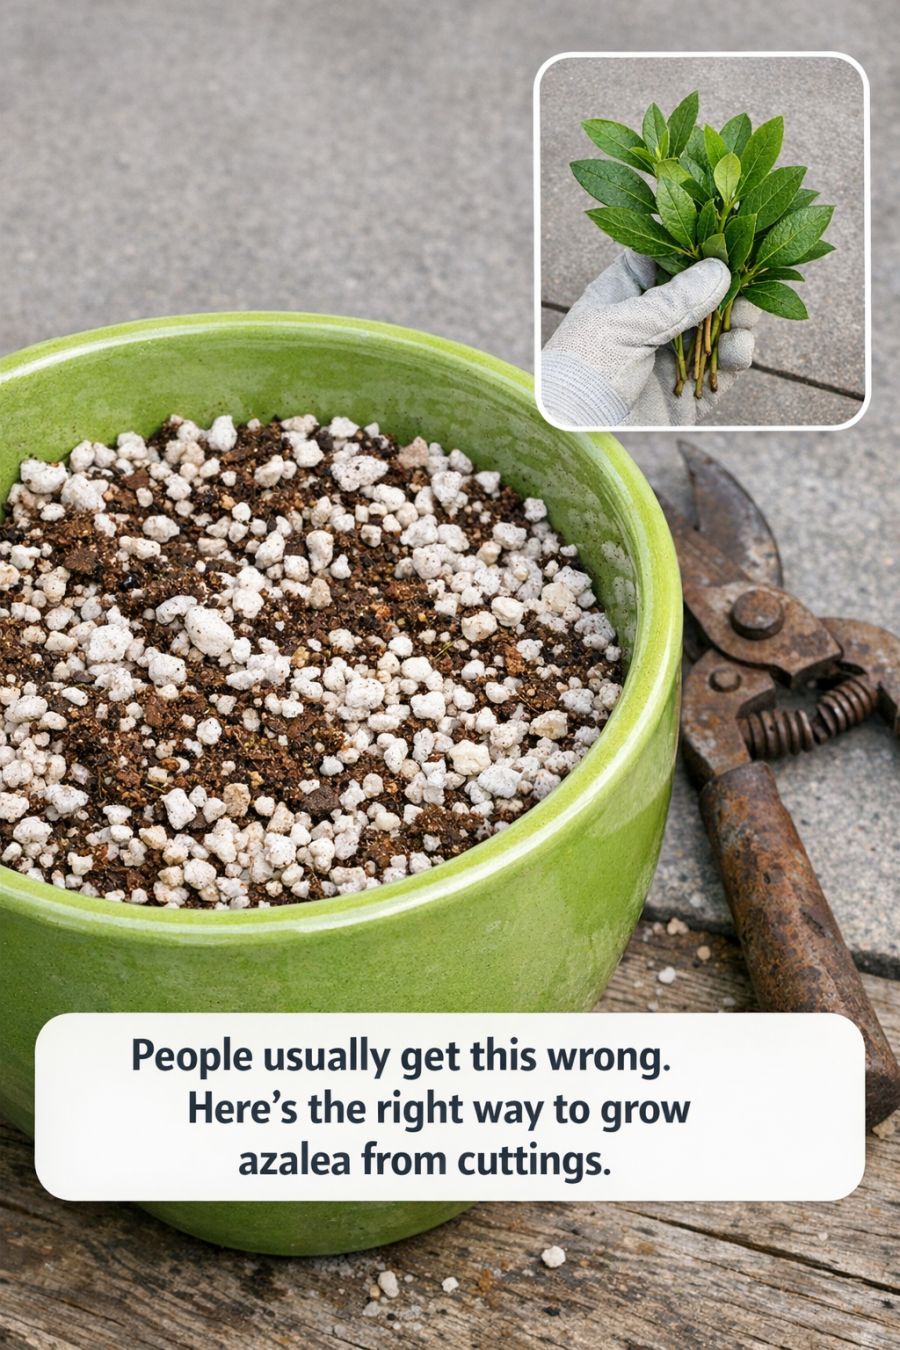
People usually get this wrong. Here’s the right way to grow azalea from cuttings
Pages: 1 2
