
Orchids are a popular gift during the holiday season, known for their exotic charm and vibrant blooms. However, as the festive period comes to a close, many orchid owners find themselves puzzled by the sudden decline in their plant’s condition. The transition from lush blooms to bare flower spikes can be disheartening, but with the right care, your orchid can thrive long after the holidays.
Understanding the post-bloom phase is crucial for orchid longevity. Many first-time orchid owners mistakenly believe that their plant is dying when the flowers fall, but this is a natural part of the orchid’s life cycle. With a few key care steps after the blooms drop, you can ensure your orchid remains healthy and ready to bloom again in the future.
Why Orchids Crash Right After Holiday Blooms
The dramatic shift from vibrant blooms to bare spikes often leads to panic among orchid owners. This transition occurs because orchids expend a significant amount of energy during their blooming period. After the flowers fall, the plant enters a resting phase to recuperate and store energy for the next bloom cycle.
Environmental factors also play a role in post-bloom stress. During the holidays, orchids are often displayed in less than ideal conditions – such as near heating vents or under artificial lights – which can exacerbate stress once the blooms have dropped. Understanding these factors is essential to adjusting care routines appropriately.
1. The Crucial New Year Cutback: Trimming Spent Flower Spikes
Once the blooms have fallen, it’s important to trim the spent flower spikes. This helps redirect the plant’s energy from maintaining the old spike to producing new growth. Use sterilized pruning shears to make a clean cut about half an inch above a node (the small bump on the spike) if the spike is still green. If the spike has turned brown and dry, cut it all the way back to the base.
Trimming the spike encourages new spikes and leaves to develop, setting the stage for future blooms. It’s a simple yet effective way to rejuvenate your orchid and maintain its health.
2. How To Tell If You Should Cut the Spike Partway or All the Way
Determining whether to cut the spike partway or entirely depends on its condition. If the spike is still green and firm, it may still have the potential to rebloom from a lower node, so a partial cut is advisable. This involves cutting just above a node, leaving about one inch of stem above it.
If the spike is brown and withered, it indicates that it won’t rebloom, and cutting it all the way back to the base is necessary. This prevents the plant from wasting energy on a non-viable spike and encourages new growth.
3. Sterilizing Your Tools so You Don’t Infect a Stressed Orchid
Before trimming your orchid, it’s crucial to sterilize your tools to prevent the spread of bacteria and viruses. Use rubbing alcohol or a diluted bleach solution (one part bleach to nine parts water) to disinfect your pruning shears or scissors. Dip the blades in the solution and let them air dry.
This step is particularly important when orchids are stressed post-bloom, as they are more susceptible to infections. Proper sanitation ensures a clean cut and reduces the risk of disease, promoting a healthy recovery for your plant.
4. Viral Cinnamon Hack: Sealing Fresh Cuts the Right Way
A popular hack among orchid enthusiasts is using cinnamon as a natural antifungal agent to seal fresh cuts. After trimming the spike, apply a small amount of ground cinnamon to the cut surface. The spice’s antifungal properties help protect the cut from infection.
It’s a simple, organic method to safeguard your orchid’s health. Just remember to use pure cinnamon and avoid cinnamon oils, which can be too harsh for the plant.
5. The New Year Repot Rule: When to Refresh Tired Orchid Bark
Orchids typically need repotting every 1 to 2 years, and the post-bloom phase is an ideal time to refresh their growing medium. Old orchid bark can break down, retaining too much moisture and leading to root rot. Signs that it’s time to repot include a sour smell or visibly degraded bark.
To repot, gently remove the orchid from its pot, shake off old bark, and trim any dead roots. Replace the old medium with fresh orchid bark to provide optimal aeration and drainage, which are crucial for healthy root development.
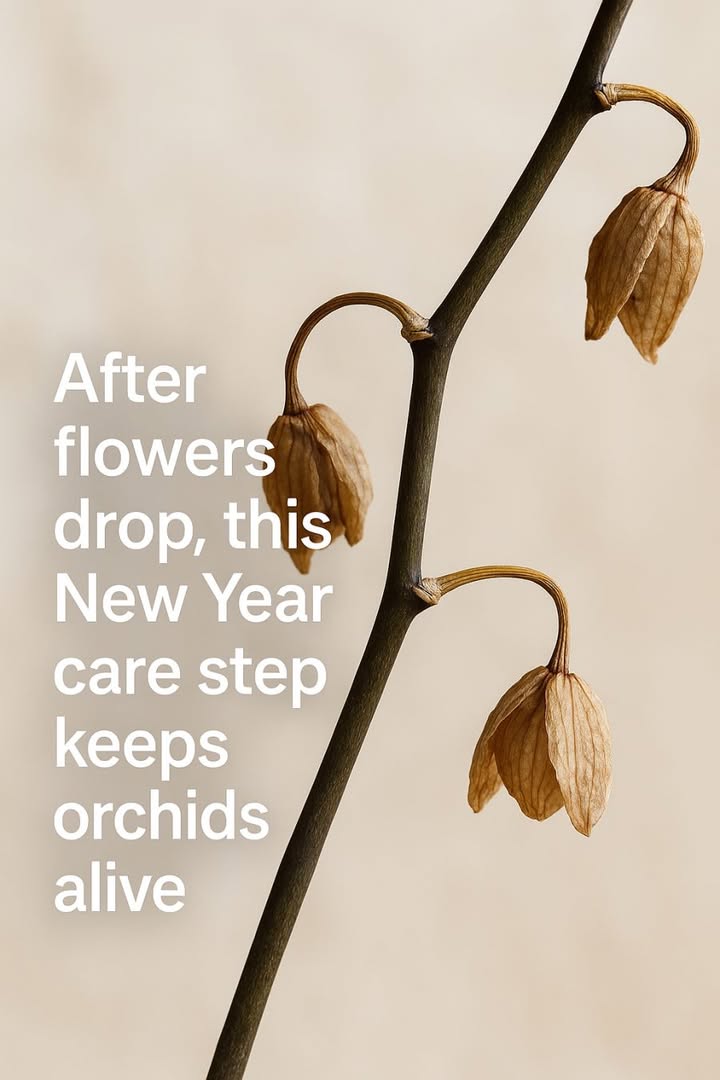
After flowers drop this New Year care step keeps orchids alive
Pages: 1 2
