
6. Resetting Watering After Blooms: From Holiday Overload to Gentle Soaks
During the holiday season, orchids may be overwatered as owners attempt to keep them looking their best. After blooms drop, it’s important to establish a more balanced watering routine. Orchids prefer a soak-and-dry method, where the roots are thoroughly watered and then allowed to dry out before the next watering.
In general, watering every 7 to 10 days is sufficient, but this can vary based on humidity and temperature. Ensure that water drains completely from the pot to prevent root rot, and adjust your schedule according to the plant’s needs.
7. Light Shift After the Holidays: Moving Orchids Out of Décor Mode
Once the festive season is over, orchids often need to be moved from decorative placements to spots with more suitable lighting. Orchids thrive in bright, indirect sunlight. If they were placed in low-light areas for decorative purposes, consider moving them to an east-facing window where they can receive gentle morning light.
Ensure the plant is not in direct sunlight, which can scorch the leaves. Adjusting the light conditions helps mimic the orchid’s natural environment and supports its overall health and growth.
8. Post-Bloom Feeding: The Fertilizer Formula That Fuels New Spikes
After the blooming period, orchids benefit from a balanced fertilizer to support new growth. Use a water-soluble orchid fertilizer with a balanced N-P-K ratio, such as 20-20-20, diluted to half strength. Feed your orchid every 2 to 4 weeks during the growing season.
Regular feeding replenishes nutrients and encourages the development of new leaves and flower spikes. Be sure to follow the dilution instructions to avoid over-fertilizing, which can damage the roots.
9. Humidity Rescue: Simple Tray and Bathroom Hacks to Prevent Shrivel
Orchids are tropical plants that thrive in high humidity environments. During the winter months, indoor air can become dry, especially with heating systems in use. To boost humidity, place your orchid on a humidity tray filled with pebbles and water, ensuring the pot is elevated above the water level.
Alternatively, placing your orchid in a naturally humid room, such as a bathroom with a window, can provide the moisture it needs. Keeping humidity levels around 40-60% helps prevent leaf shrivel and supports overall plant health.
10. Temperature Tweaks That Kick-Start Next Season’s Flowering
Temperature plays a crucial role in triggering orchid blooms. Many orchids require a temperature drop at night to initiate flowering. Aim for a 10°F difference between day and night temperatures, with days around 75°F and nights around 65°F.
Maintaining these temperature variations can be achieved by moving the orchid to a cooler location at night or adjusting indoor heating. This temperature cue mimics the orchid’s natural habitat and encourages the formation of new flower spikes.
11. New Year Orchid Checkup: Roots, Pests, and Hidden Rot
A thorough checkup can reveal hidden issues that may affect your orchid’s health. Inspect the roots for signs of rot, such as a mushy texture or discoloration. Healthy roots should be firm and white or green. Trim any damaged roots and repot if necessary.
Look for pests like aphids or spider mites hiding in the leaves or potting medium. Wipe leaves with a damp cloth and use insecticidal soap if needed. Regular checks help catch problems early, ensuring your orchid stays healthy throughout the year.
12. The One-Month Watch: Subtle Signs Your New Care Routine Is Working
After implementing these care steps, observe your orchid over the next month for signs of improvement. Look for new leaf growth, healthy root tips, and the potential emergence of new flower spikes, which indicate that your orchid is adapting well to its post-bloom care routine.
Patience is key, as orchids can take time to adjust and show visible changes. Consistent care and attention to the plant’s needs will eventually lead to rewarding results, setting the stage for vibrant blooms in the future.
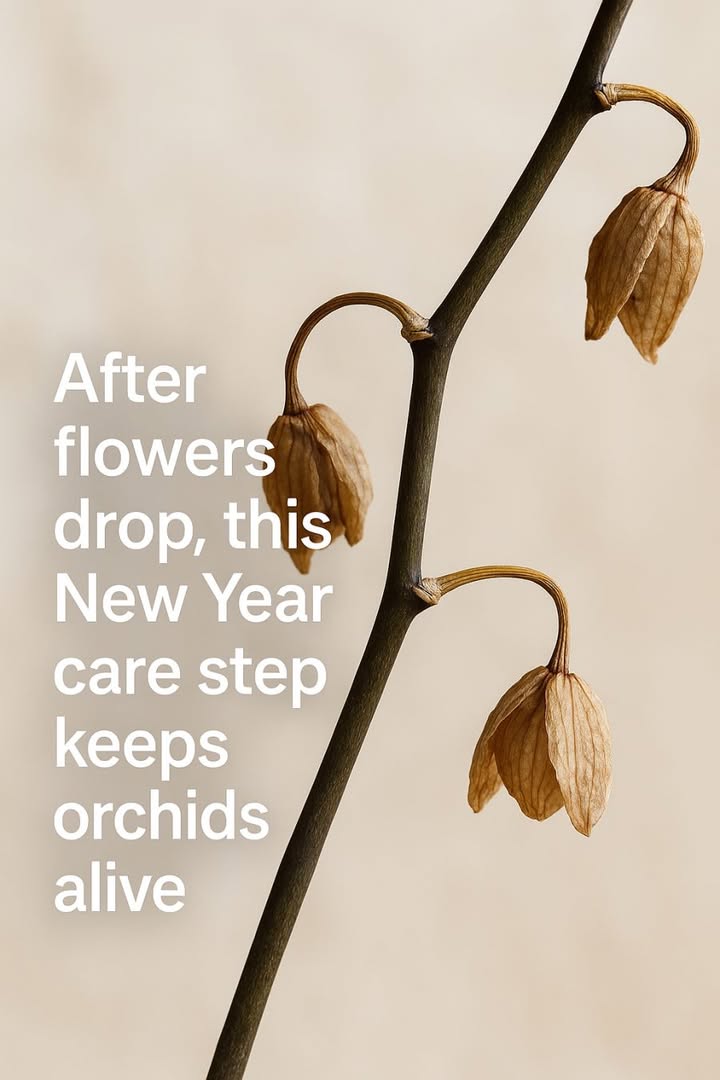
After flowers drop this New Year care step keeps orchids alive
Pages: 1 2
