
Clematis is a beloved flowering vine, known for its stunning blooms and ability to transform any garden space into a vibrant display. However, despite its popularity, many gardeners struggle to propagate clematis successfully from cuttings. This process, while seemingly straightforward, can be fraught with challenges if not done correctly.
Understanding the nuances of taking and rooting clematis cuttings is essential for success. From choosing the right stem to creating the optimal environment for rooting, each step plays a crucial role. In this article, we’ll uncover the common pitfalls gardeners face and provide a detailed guide on the correct method to propagate clematis from cuttings, ensuring you achieve a garden full of these beautiful vines.
1. The Common Mistakes Everyone Makes With Clematis Cuttings
One of the most common mistakes gardeners make is selecting the wrong type of stem for cuttings. Choosing a stem that’s too mature or too young can significantly affect success rates. Additionally, many people fail to use the appropriate tools or sterilize them properly, leading to disease transmission and poor rooting.
Another frequent error is neglecting the microclimate needs of clematis cuttings. Without adequate humidity and temperature control, cuttings can dry out or rot before they have a chance to root. Ensuring consistent aftercare, such as proper watering and ventilation, is also often overlooked, leading to less than optimal results.
2. Choosing the Right Clematis Varieties and Timing Your Cuttings
Not all clematis varieties are equally easy to propagate from cuttings. Some varieties, like the Clematis montana, tend to root more readily than others. It’s also crucial to time your cuttings correctly. The best time to take clematis cuttings is in late spring to early summer when the plant is actively growing.
During this period, the plant’s stems are in their softwood stage, which is ideal for propagation. Taking cuttings at other times, such as when the plant is in a dormant stage, can result in lower success rates.
3. Identifying the Perfect Stem: Softwood vs. Semi-Ripe vs. Hardwood
Clematis cuttings can be taken from softwood, semi-ripe, or hardwood stems, each having its own advantages and challenges. Softwood cuttings, taken in late spring, are tender and root quickly but require careful handling to prevent wilting. Semi-ripe cuttings, taken in midsummer, are firmer and slightly more resilient.
Hardwood cuttings, typically taken in fall or winter, are the toughest and can take longer to root, but they are more forgiving in terms of handling. Understanding the differences helps you choose the right type for your specific clematis variety and growing conditions.
4. How to Take Cuttings Without Damaging the Parent Vine
To take a cutting without harming the parent plant, use a sharp, sterilized knife or pruning shears. Select a healthy stem and cut just below a node, ensuring the cutting is about 4-6 inches long. Avoid taking too many cuttings from one plant, as this can stress the vine.
Make clean, angled cuts to maximize surface area for rooting and to prevent water pooling, which can lead to rot. Immediately place the cuttings in water or a plastic bag to retain moisture until you’re ready to plant them.
5. Preparing Each Cutting: Nodes, Leaves, and Clean Cuts
Each clematis cutting should have at least two nodes, as these are the points where roots will develop. Remove the lower leaves to prevent rot and reduce moisture loss, leaving just a couple of leaves at the top.
Trim the leaves by half if they are large to minimize water loss while maintaining photosynthesis. Ensure the cut at the base is clean and slanted, which helps with root emergence and prevents disease.
6. The Right Tools, Sterilization, and Disease Prevention
Using the right tools is critical in preventing disease and ensuring successful propagation. A sharp, clean pair of pruning shears or a knife is essential. Before use, sterilize your tools with a solution of one part bleach to nine parts water or use rubbing alcohol.
This step is crucial because it prevents the spread of pathogens that can cause rot or other diseases in your cuttings. Regularly cleaning your tools before and after each use maintains their effectiveness and reduces the risk of contamination.
7. Using Hormone Rooting Powder the Way Professionals Do
Hormone rooting powder can significantly increase the success rate of clematis cuttings by stimulating root growth. Dip the base of the cutting into water first, then into the rooting powder, tapping off any excess.
Make sure the powder covers the node area, as this is where roots will form. Some gardeners prefer using a gel form of rooting hormone, which can provide better coverage and adherence to the cutting.
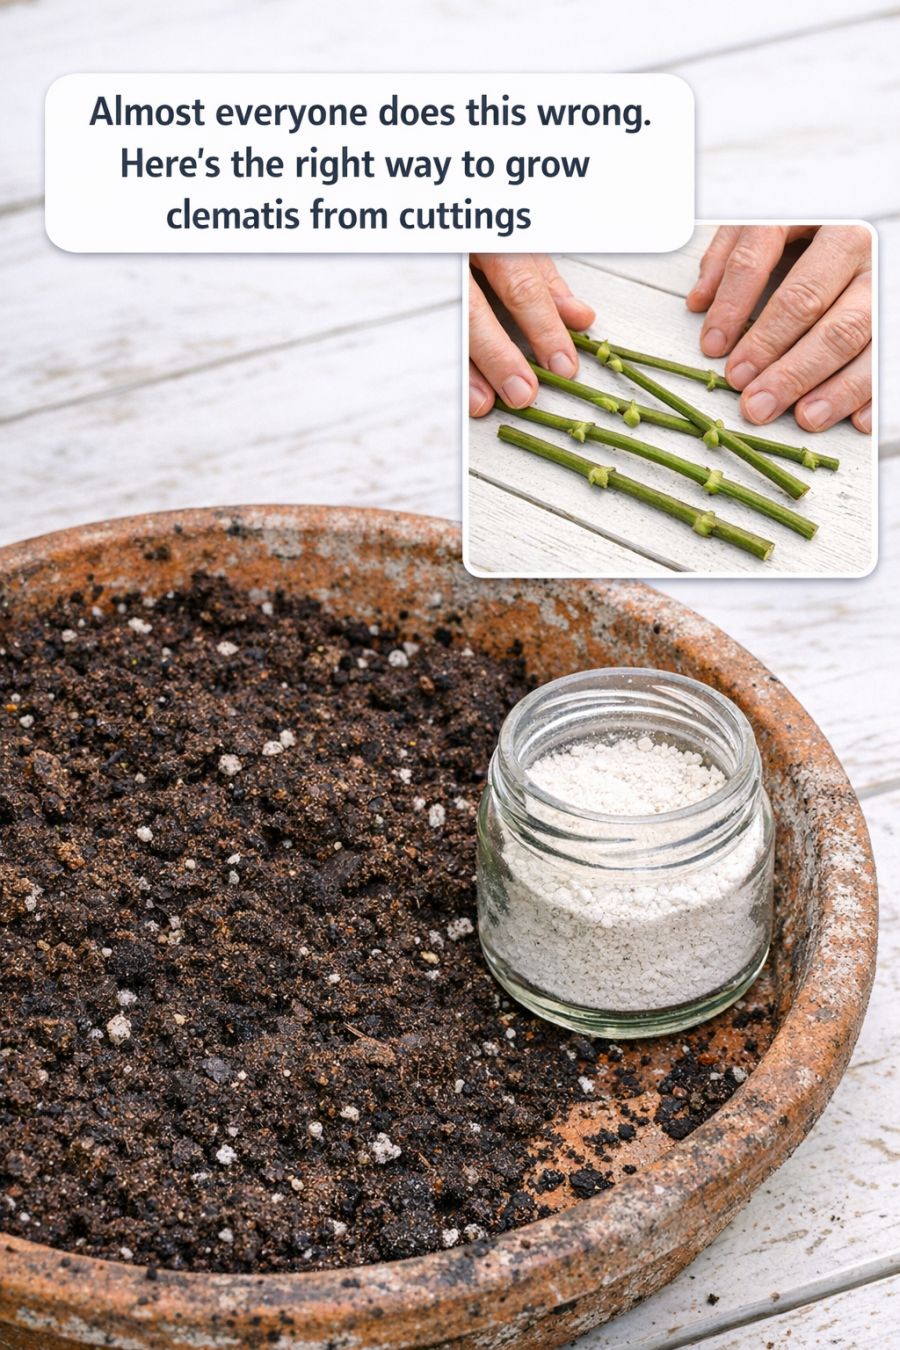
Almost everyone does this wrong. Here’s the right way to grow clematis from cuttings
Pages: 1 2
