
8. The Ideal Potting Mix and Containers for Fast Rooting
For clematis cuttings, a well-draining potting mix is essential. A mix of equal parts perlite, peat moss, and coarse sand works well. This combination provides excellent drainage while retaining enough moisture for root development.
Use small pots or trays with drainage holes to prevent waterlogging. Cover the pots with clear plastic or place them in a propagator to maintain high humidity levels, which are crucial for rooting.
9. Creating the Perfect Microclimate: Humidity, Light, and Temperature
Creating a supportive microclimate is key to the rooting success of clematis cuttings. Maintain high humidity levels by covering the cuttings with a plastic dome or using a propagator. Keep the cuttings in bright, indirect light to encourage growth.
Avoid direct sunlight, which can scorch the cuttings. Ideal temperatures should range between 65-75°F (18-24°C). Ensure good air circulation to prevent mold and mildew, which can thrive in high humidity conditions.
10. The Crucial Aftercare: Watering, Ventilation, and Monitoring for Rot
Once your cuttings are planted, consistent aftercare is essential. Water the cuttings lightly and regularly to keep the soil moist but not soggy. Too much water can lead to rot, while too little can cause the cuttings to dry out.
Ventilation is critical; ensure there is some airflow without exposing the cuttings to drafts. Check regularly for signs of rot or fungal infections, and remove any affected cuttings immediately to prevent spread.
11. Potting On, Hardening Off, and Training Your New Clematis Plants
Once the cuttings have rooted, typically after 6-8 weeks, they can be potted on into larger containers. Use a quality potting mix and ensure the new pots have good drainage. Gradually acclimate the young plants to outdoor conditions by hardening them off over a week or two.
Start by placing them in a sheltered spot, increasing their exposure to direct sunlight and changing temperatures. As they grow, provide support with small trellises or canes to train them into the shape you desire, preparing them for their final position in the garden.
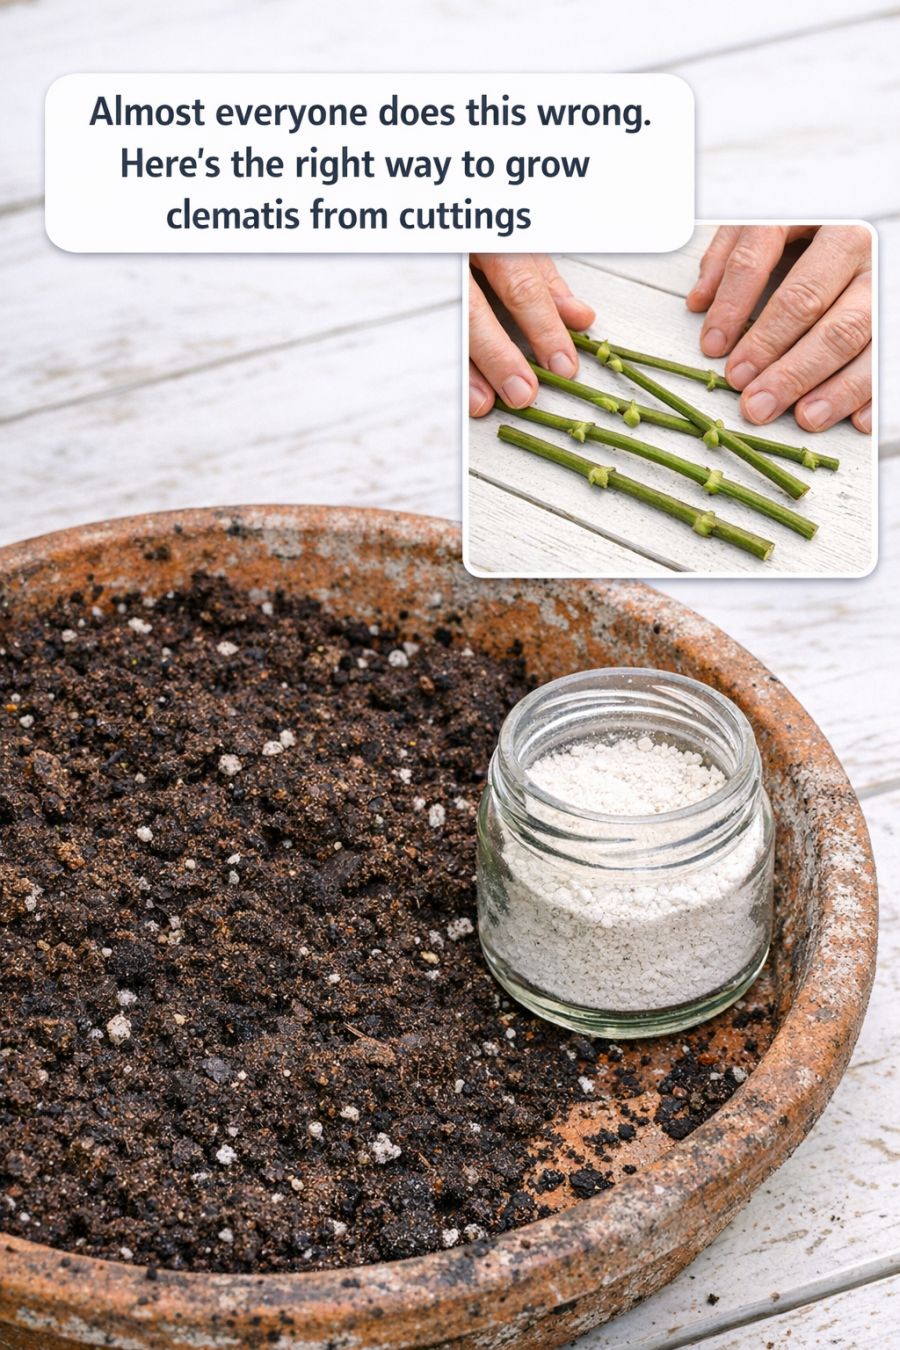
Almost everyone does this wrong. Here’s the right way to grow clematis from cuttings
Pages: 1 2
