
4. Refresh the Mulch to Lock In Moisture and Stop Weeds
A layer of mulch helps retain soil moisture, suppress weeds, and regulate soil temperature. Apply a 2-3 inch layer of organic mulch, such as shredded bark or wood chips, around the base of your hydrangeas. Keep the mulch about 2 inches away from the stem to prevent rot.
Mulching not only protects your hydrangeas from drying out but also enriches the soil as it breaks down. Check for any compacted mulch from the previous year and fluff it up to ensure it remains effective in retaining moisture.
5. Check Soil pH Now to Dial In Your Dream Flower Color
The color of hydrangea flowers, particularly those of the ‘bigleaf’ variety, can be influenced by soil pH. Acidic soils (pH below 6) typically produce blue blooms, while alkaline soils (pH above 7) result in pink flowers.
Conduct a soil test in April to determine your soil’s pH. If you wish to alter the color, add garden lime to raise pH for pink blooms or aluminum sulfate to lower pH for blue blooms. Apply amendments according to package instructions, and remember that changes in soil pH can take time to affect flower color.
6. Deep-Water the Smart Way Before Summer Heat Hits
Hydrangeas require consistent moisture, especially as they start to leaf out in the spring. Deep watering encourages strong root development. Water your plants deeply once a week, ensuring the soil is moist down to 6-8 inches.
Consider installing a drip irrigation system or soaker hoses to deliver water directly to the roots, minimizing evaporation and ensuring even distribution. Avoid overhead watering, which can lead to fungal diseases. As temperatures rise, monitor moisture levels and adjust watering frequency as needed.
7. Divide, Transplant, or Pot Up Stragglers Before They Leaf Out
If you have hydrangeas that have outgrown their space or you want to propagate new plants, early spring is the ideal time to divide and transplant. Dig up the plant carefully, preserving as much root as possible. Divide the root ball using a sharp spade or knife, ensuring each division has several healthy stems and roots.
Replant divisions immediately, spacing them based on mature size recommendations—typically 3-5 feet apart for most varieties. Water thoroughly after replanting. For potted hydrangeas, repot into a slightly larger container with fresh potting mix to encourage new growth.
8. Protect Tender Buds From Late Frost Surprises
Late frosts can damage emerging buds, impacting summer blooms. Keep an eye on weather forecasts in April and be prepared to cover your plants with frost cloths or old sheets if frost is predicted.
Ensure covers extend to the ground and are secure to prevent wind from displacing them. Remove covers in the morning once temperatures rise. For extra protection, consider using a layer of mulch to insulate the soil and maintain warmth around the roots.
9. Set Up Simple Supports So Heavy Summer Blooms Don’t Flop
As hydrangeas grow, their large flower heads can become heavy, especially after rain. Provide support to keep stems upright and prevent breakage. Install stakes or wire cages around each plant in early spring before new growth obscures the stems.
Use soft, flexible ties to secure stems to supports, ensuring they have room to grow. Consider using a natural-looking support system that blends with the garden aesthetic. Proper support not only enhances the appearance of your hydrangeas but also promotes better air circulation, reducing the risk of disease.
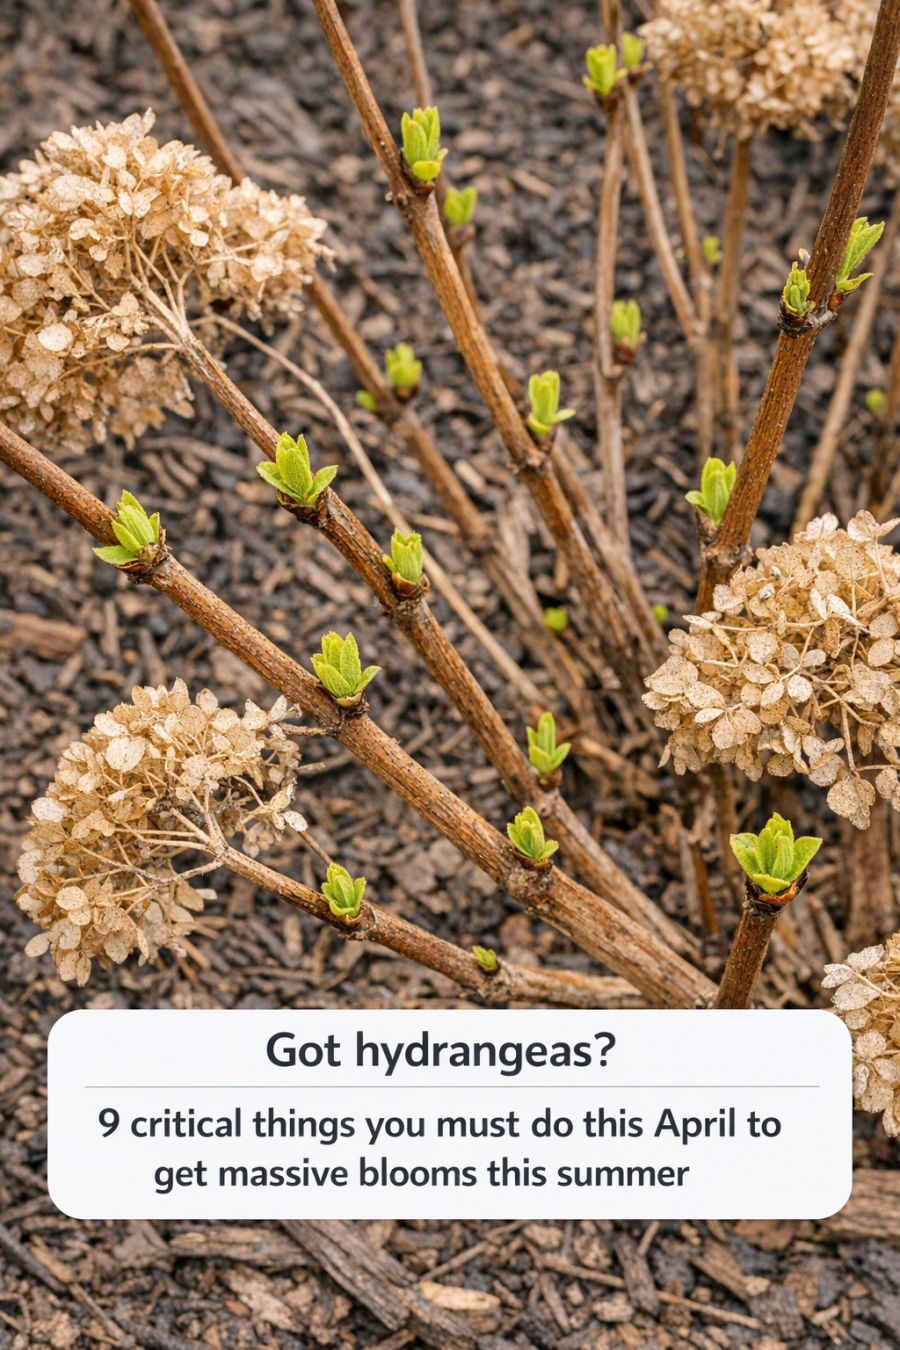
Got hydrangeas? 9 critical things you must do this April to get massive blooms this summer
Pages: 1 2
