
Weigela is a stunning deciduous shrub known for its vibrant blooms and easy maintenance, making it a popular choice among gardeners. However, propagating this plant from cuttings can be tricky, and many gardeners find themselves frustrated by poor results. Learning the correct techniques can make all the difference and ensure that your efforts are rewarded with flourishing plants.
In this article, we’ll explore the common mistakes gardeners make when attempting to propagate weigela from cuttings and provide a comprehensive guide to doing it right. Whether you’re a novice gardener or an experienced horticulturist, these tips will help you grow beautiful weigela shrubs from cuttings, enhancing your garden’s beauty and diversity.
1. The Biggest Mistakes Gardeners Make With Weigela Cuttings
One of the most common mistakes is taking cuttings at the wrong time of year. Many gardeners attempt to take cuttings during the peak blooming season, which can stress the plant and result in poor rooting success. Additionally, using the wrong type of cutting, such as one that’s too woody or too green, can hinder root development.
Another frequent error is neglecting the use of rooting hormone. While not always necessary, rooting hormone can significantly increase the chances of successful rooting. Lastly, improper care post-cutting, such as inadequate humidity or incorrect watering, often leads to cuttings drying out or rotting before they can establish roots.
2. Choosing the Right Time of Year for Taking Cuttings
The optimal time for taking weigela cuttings is during the late spring to early summer, just after the plant has finished its blooming cycle. This is typically when the plant’s energy is directed towards new growth, making it an ideal time for propagation.
At this time, choose semi-hardwood cuttings, which are not too soft or too woody. These cuttings are usually taken when the wood is beginning to mature and the leaves are fully expanded. This balance in maturity allows the cuttings to root more easily, increasing your chances of success.
3. Selecting Healthy Parent Plants and Perfect Stems
Choosing a healthy parent plant is crucial for successful propagation. Look for plants that are free from diseases and pests, with vibrant green leaves and strong stems. The health of the parent plant directly influences the vigor and success rate of your cuttings.
Select stems that are about the thickness of a pencil, with at least three to four nodes. Avoid stems that are flowering, as these are focused on reproduction rather than root development. Healthy, non-flowering stems with a good balance of maturity and vigor are ideal.
4. How to Take Cuttings the Right Way (Length, Nodes, and Tools)
Use a sharp, sterilized knife or pruning shears to take your cuttings. This prevents damage to the stem and reduces the risk of introducing pathogens. Cuttings should be 4 to 6 inches long and include at least three nodes.
Make your cut just below a node, as this is where roots are most likely to develop. A clean, angled cut helps improve water absorption and rooting potential. Ensure your tools are clean to prevent the spread of disease.
5. Preparing Cuttings: Leaves, Wounds, and Hormone for Faster Roots
Remove the leaves from the lower half of the cutting, leaving a few at the top to allow for photosynthesis. This reduces water loss and focuses the plant’s energy on root development.
Dip the cut end in rooting hormone powder or gel to encourage faster root growth. The hormone helps stimulate root cells and increases the likelihood of successful propagation. After applying the hormone, allow the cuttings to dry for a few minutes before planting.
6. The Ideal Potting Mix Most Gardeners Get Wrong
A well-draining potting mix is essential for successful rooting. Many gardeners make the mistake of using heavy, moisture-retentive soil, which can lead to rot. Instead, opt for a mix of equal parts perlite and peat moss or a specialized propagation mix.
This mix provides the ideal balance of moisture retention and drainage, ensuring that the cuttings remain hydrated without becoming waterlogged. Proper aeration is crucial for root development, so avoid compacting the soil around the cuttings.
7. Planting Depth, Spacing, and Labeling Your Cuttings
Plant each cutting about 2 inches deep, ensuring that at least one node is buried beneath the soil. This depth promotes stability and encourages root growth from the buried nodes.
Space cuttings about 2 to 3 inches apart to allow for adequate air circulation and prevent the spread of disease. Label each cutting with the date and variety to keep track of your plants and monitor their progress effectively.
8. Creating the Perfect Humidity and Light for Rooting Success
High humidity is crucial for preventing cuttings from drying out. Cover the cuttings with a clear plastic dome or use a propagator to maintain humidity levels. Mist the cuttings regularly, but ensure proper ventilation to prevent fungal growth.
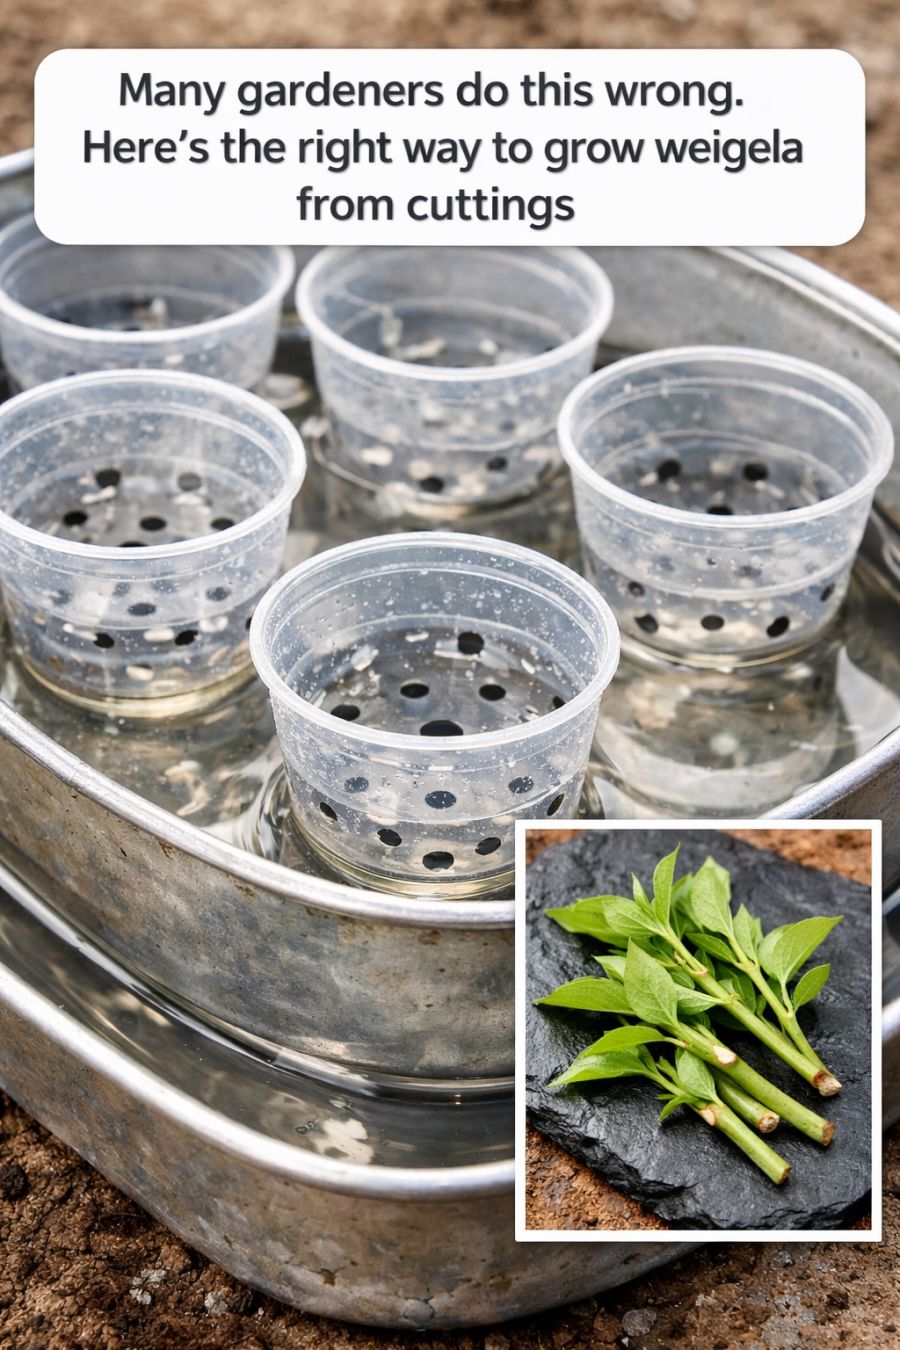
Many gardeners do this wrong. Here’s the right way to grow weigela from cuttings
Pages: 1 2
