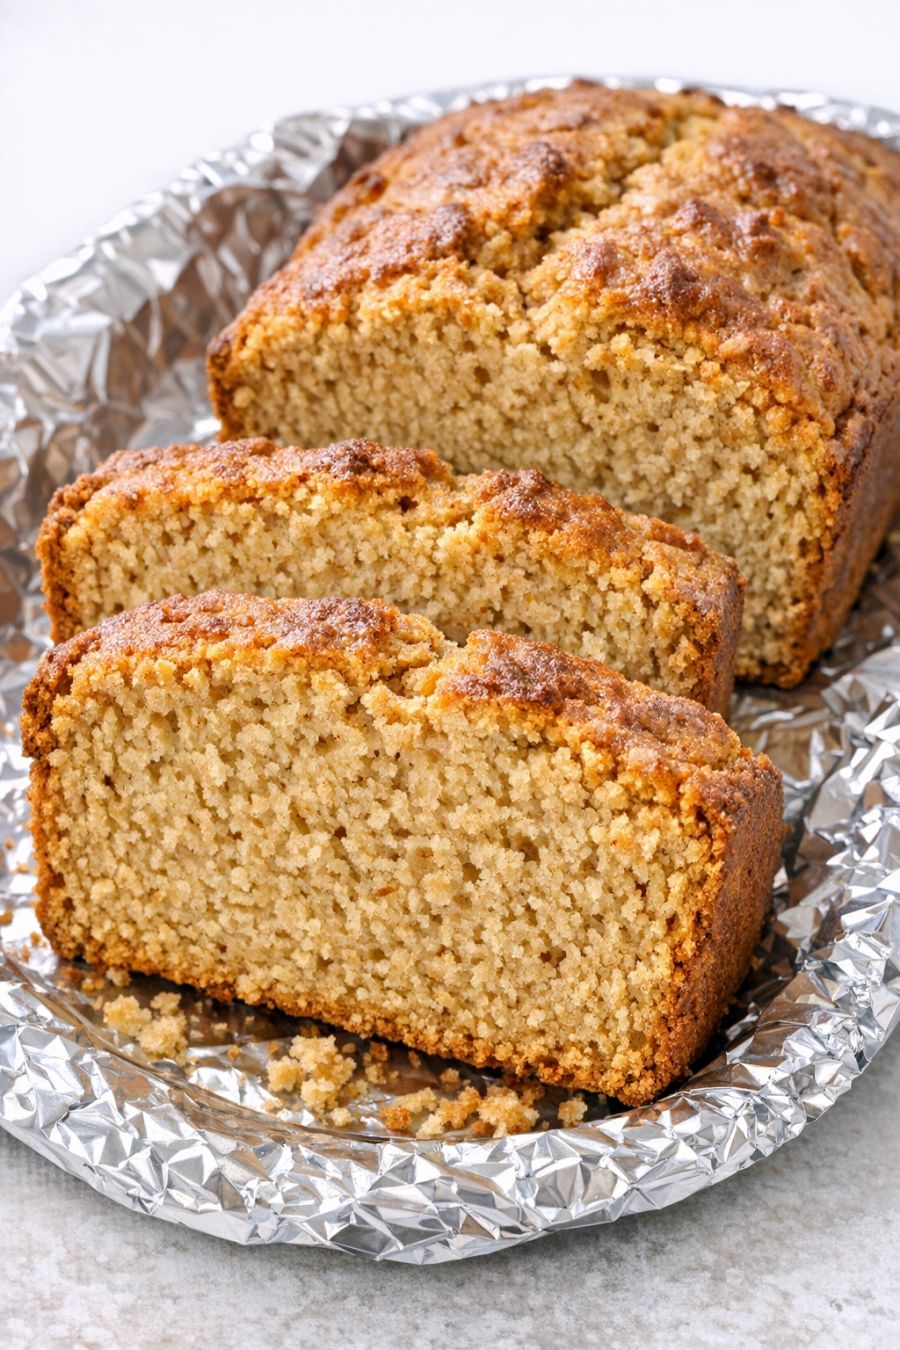
Remove the pan from the oven and let the bread cool in the pan for about 10 to 15 minutes so it can settle. Then use the foil overhang to lift the loaf out onto a cutting board or foil-lined platter.
While still warm, slice the bread into thick pieces using a sharp serrated knife. The interior should be dense and slightly crumbly, with a tan, peanut butter–tinted color and a chewy bite. Serve warm for the most comforting texture and flavor.
Because this recipe was born out of lean times, it’s meant to be flexible with what you have on hand. You can use 2% or even skim milk if that’s what you keep in the fridge; the loaf may be just a touch less rich but will still bake up dense and satisfying. If your peanut butter is very thick or natural-style and dry, you may need a splash more milk to get a thick but workable batter. Crunchy peanut butter will give the bread a bit of texture from the nut pieces, which some folks enjoy. For a slightly softer crumb, you can replace up to 1/2 cup of the flour with whole wheat flour, though the loaf will be a bit heartier and darker. If you’re not strictly limiting ingredients, a pinch of salt can deepen the flavor, and a spoonful of sugar or honey can soften the edge of the peanut flavor. Leftover slices toast up nicely in a skillet or toaster oven; warm them and spread with a little butter or jam to bring them back to life the next day. Store tightly wrapped at room temperature for up to 2 days, or freeze slices between layers of parchment for longer keeping.